
Checkerboard
The checkerboard has 4 surfaces, the top, the bottom, and 2 evenly spaced surfaces where the hooked sides meet. One of these share the same surface as the central core of the piece, and was the surface we used as our parting line. To extend the hook cavities on the larger half, two cores were placed on the shorter half of the mold. As all of the parts are of equal thicknesses and the only large flat area is supported by the perpendicular ribs on the edges, we minimized any distortions due to shrinkage.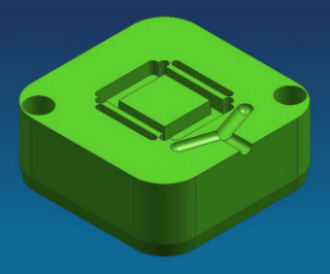
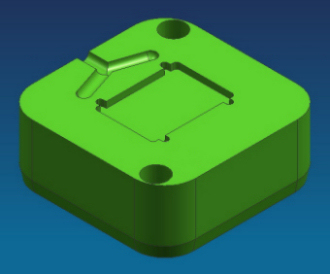
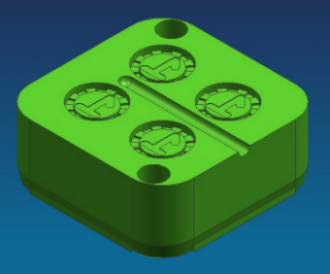
Here are the final molds for the checkerboard. They fit together very nicely, and we added the sprues by hand before injecting them.
Checker
The Checker is a small piece and consists of a flat area with a perpendicular ring around it, reducing its ability to distort due to shrinkage as well as its being more or less the same uniform thickness. The parting line is right down the center and no cores are needed.
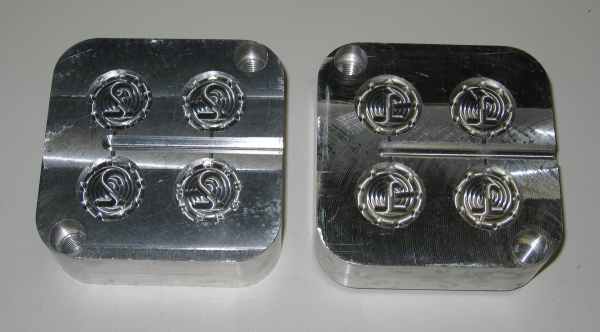
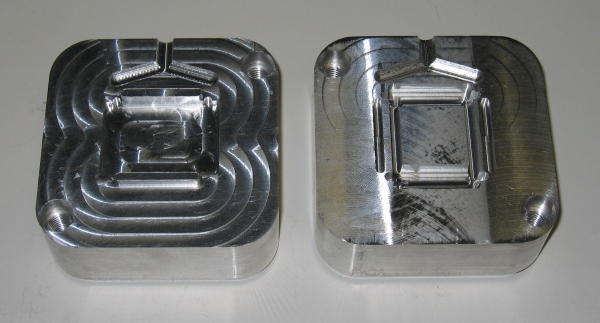
Here are the final molds for the checker pieces. When the the tool paths were re-generated, one side kept their semi-rectangular crenelations, while the other half consisted of pure circular crenelations, adding a tactile difference between the 2 sides of the piece.