We began our project by brainstorming. The constraints given were: we only had two aluminum blanks, 3.499 x 3.499 x 1.377 inches and with 2 mounting bolts in opposite corners
- the design must consist of interconnecting parts
- the design must be producible by injection molding
- the material is soft and forgiving, but not very strong
- the smallest features are constrained by having a Ľ” mill
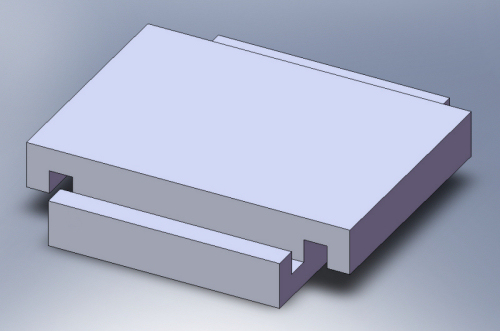
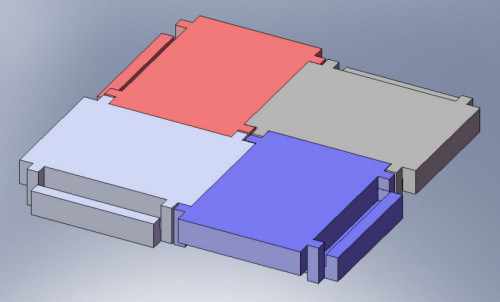
We played with the design of numerous objects, and decided on a checkerboard because of the interconnecting aspect of 'kinging' pieces, and the building of a full sized checkerboard by latching together 64 identical tile pieces, each rotated 90°. These are the preliminary designs we did to illustrate the basic principle. For clarity, the first one is without the added corner blocks that fill in the gap between parts.
We then began designing our final parts in Unigraphics. For the checkerboard pieces, Knowing the smallest vertical section we could cut was Ľ" we made the part Ľ" thick everywhere, adding a core in the middle on the bottom. We also had to add rounded corners for all the places only a rounded tool could cut and added rounded corners on the mating surfaces to maintain as little gap as possible. Adding draft also required calculation in advance to maintain Ľ" clearance at the top of the part.

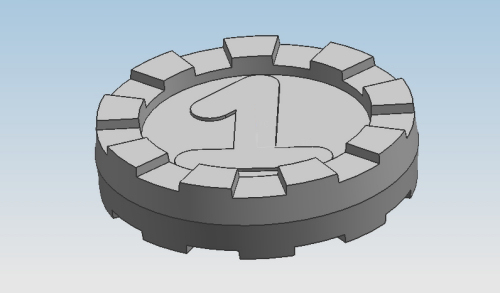
For the Checker pieces, the crenelations had to be spaced out large enough to fit the tool, and the numbers 1 and 2 were added to opposite sides to distinguish these prototype colorless pieces.