Custom "Save the Date" Decoder Cards
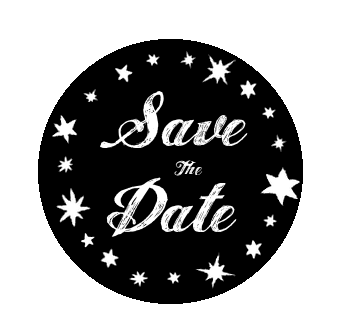
For a card to be really memorable I feel like it needs to be interactive, so after some brainstorming I came up with the idea of doing a round 2-part card that spins. For a rough idea I threw together this first mock-up. 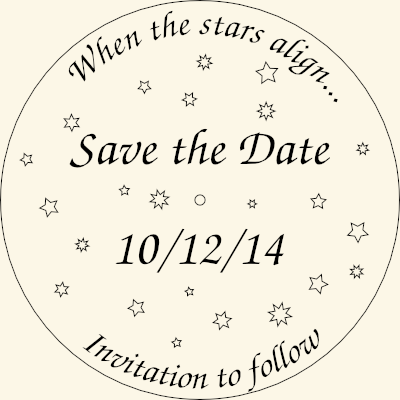
Next, I needed to make it interactive. I wanted the message to be hidden until the two layers were aligned. I put the same small star pattern on both layers to act as the key, and then larger stars for openings to reveal the message.
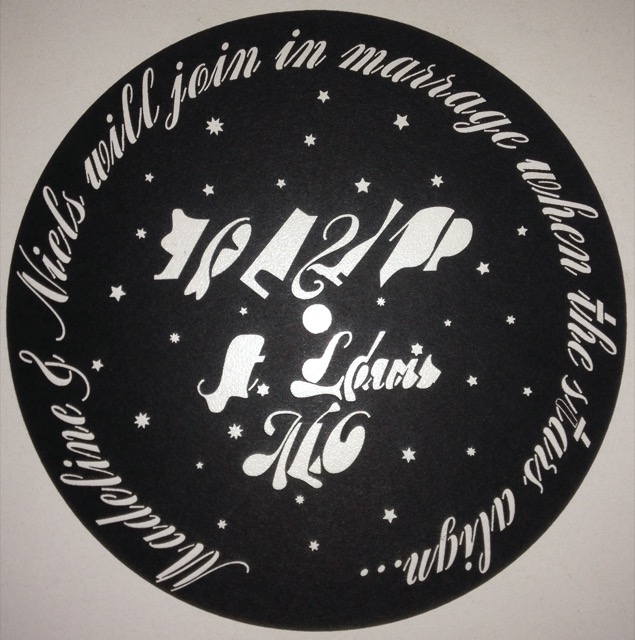
I felt that the message was too easy to see, and you didn't really need the stars to be fully aligned to read it, so I figured I needed to distribute the message across both layers, such that only when they align can you read the message. For each letter I distended one side on each layer.
I really liked how that turned out, but after a test cut I realized I needed to make some adjustments. I was using the laser cutter at Arch Reactor, and the laser has a small width to its cut, so many of the internal pieces were getting cut off and falling out.
So after several iterations of tweaking spacings and gaps (and adding some geeky easter eggs), I had a final design. Here is the final layout for cutting each sheet of card stock. The plain circle would be the bottom layer and get spray painted gold.
I also cut some stencils to spray paint our website address on the back so people could get more info (or in case they weren't able to figure out the puzzle). 
I made a bunch of stencils, as each time you use a stencil the paint fills in the gaps a little bit, so each reuse would get less and less clear.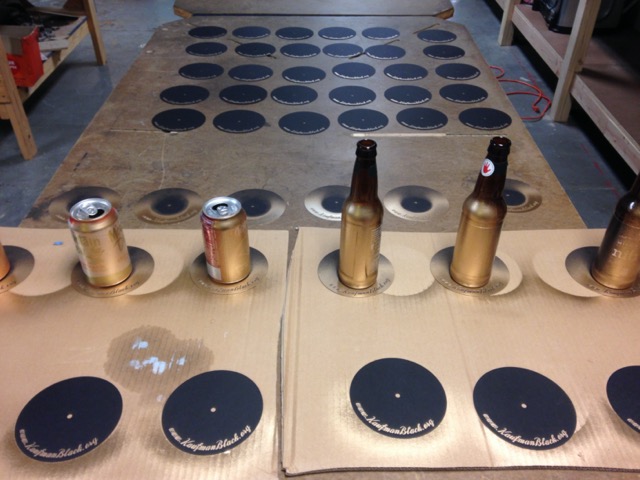
All Done! Can you believe I don't have a photo of it? I'll have to go dig out one of the extras and add a short video of it in action here
With the brad in the center I was worried about mailing it. I kept imagining it going through high speed rollers, the brad punching through the envelop and things getting caught or ripped. To fix this I also laser cut an insert to go in the envelop along with a couple of washers to hold and protect the brad. 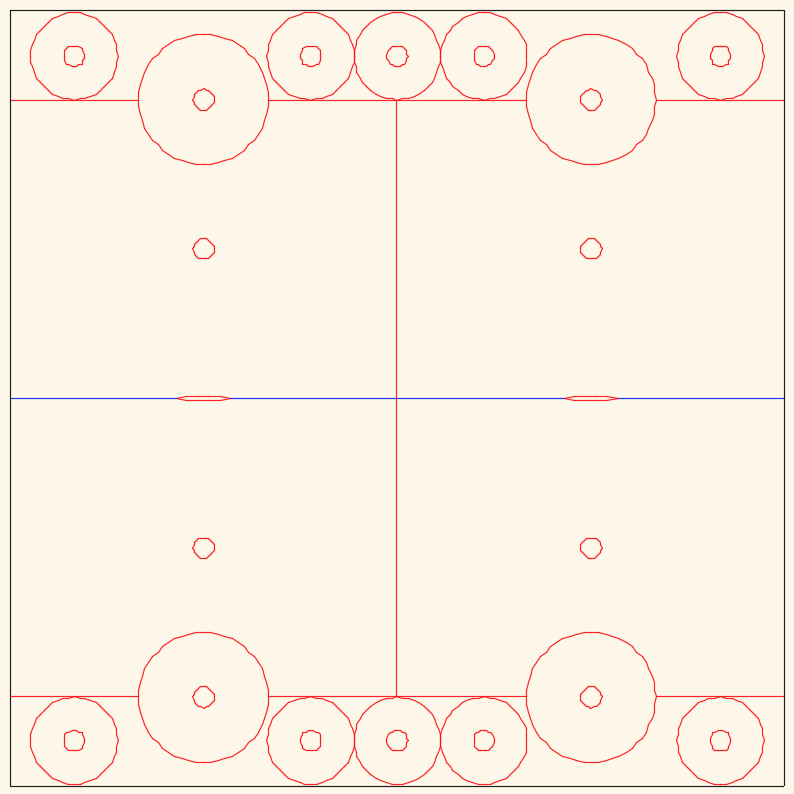
I also realized that how I had written the date would be confusing to my danish family, so I also added a couple of inserts for their cards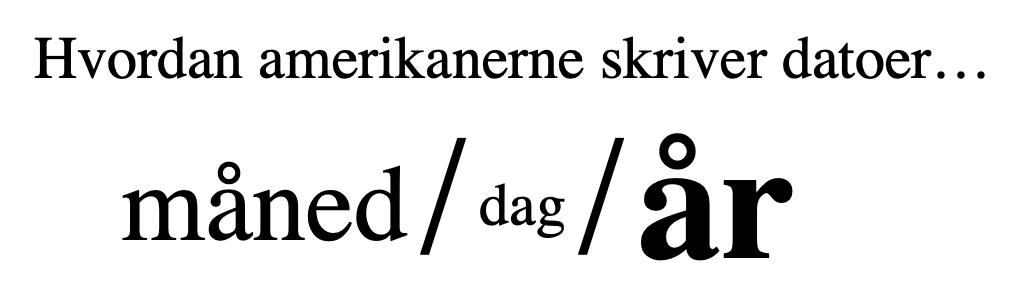
Lastly, I made a couple of custom rubber stamps to decorate the envelope. I used the engrave setting in the laser cutter to cut away the rubber, and it was slow and stinky going. After each pass I had to brush away a layer of rubber soot or else the laser wouldn't burn away the next layer.