

nfolken's DIY Projector
a PLOG of my first home make video projector
I had conjured up the idea of building my own projector with an old monitor, a couple of lenses and a bright light, and over the summer found an entire web site dedicated to it, Lumenlab. I was dissapointed in the projected cost, mainly in the light source, but after a month of reading and planning, i decided to go ahead and order all my parts. When they came the first thing i did was take apart the lcd. It would be another month before i build the projector while i finish up another project (my ddr pads). I was then left with 3 days to build the entire thing before driving off to school. So here is how i did it all, for those who care.Introduction
A Do-It-Yourself (DIY) projector is actually pretty basic, though with a few complicated specifics. Take an old LCD monitor and remove the frame and backlight so that you can see through the liquid crystal display. Now place a bright 400w metal halid light bulb behind the screen, add a few frenel lenses to direct the light through the lcd panel, and a triplet lens in front to project the light comming through the lcd (the image) onto a wall. the only hard part is building the box to put it all in.Planning
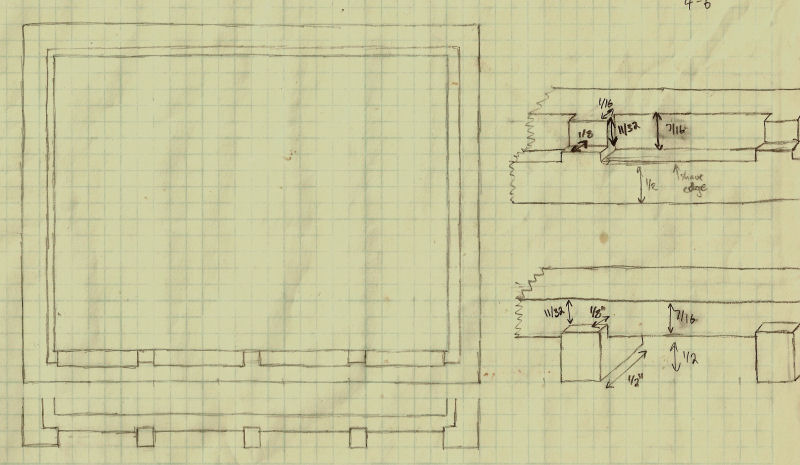
I had litterally over 30 pages of designs, many old revisions, many for only specific parts of the projector. here are 3 of the more important ones, though the pages with all the final dimensions blew away (but not before i had made the crucial cuts).
This first sketch was my last generalized sketch before i did the final dimensioned sketches of all the components that blew away. I didn't want a "dog coffin" style projector, so went with the angles (and complexity). I also played with the transformer outside, but decided on something more compact. If i did it again, i would make a sheet metal lined light tunnel with all the other electronics separate.

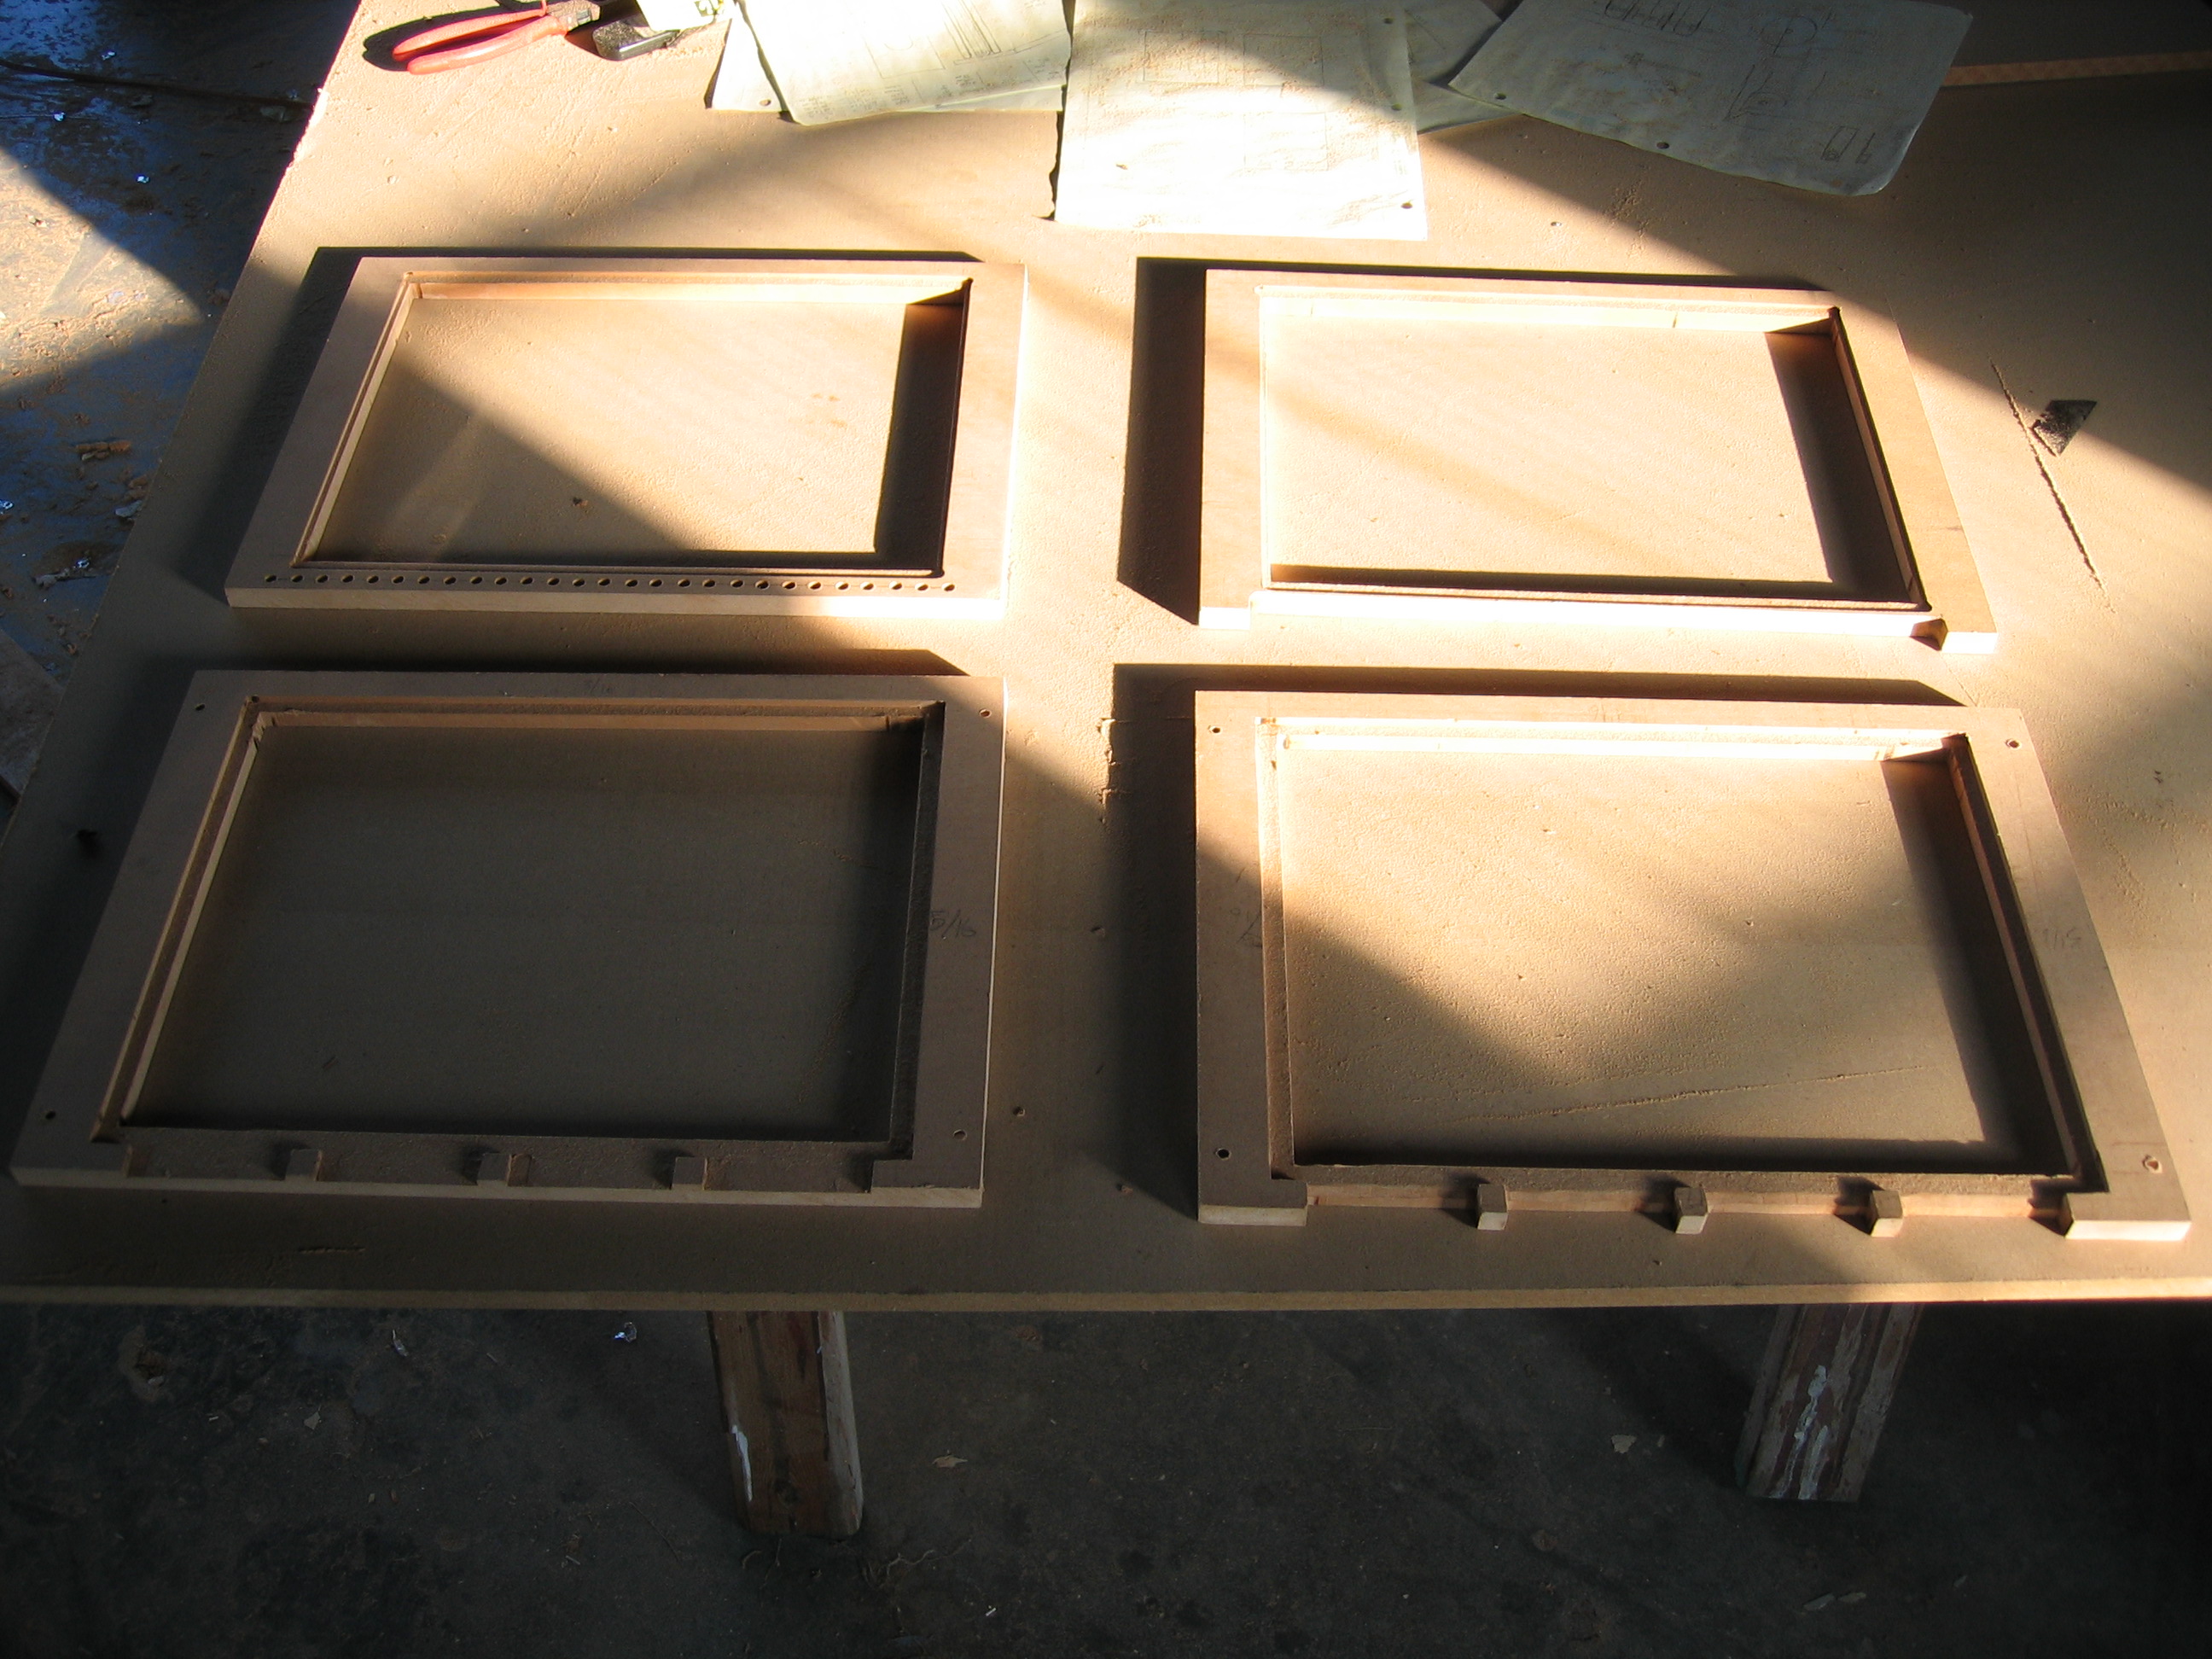
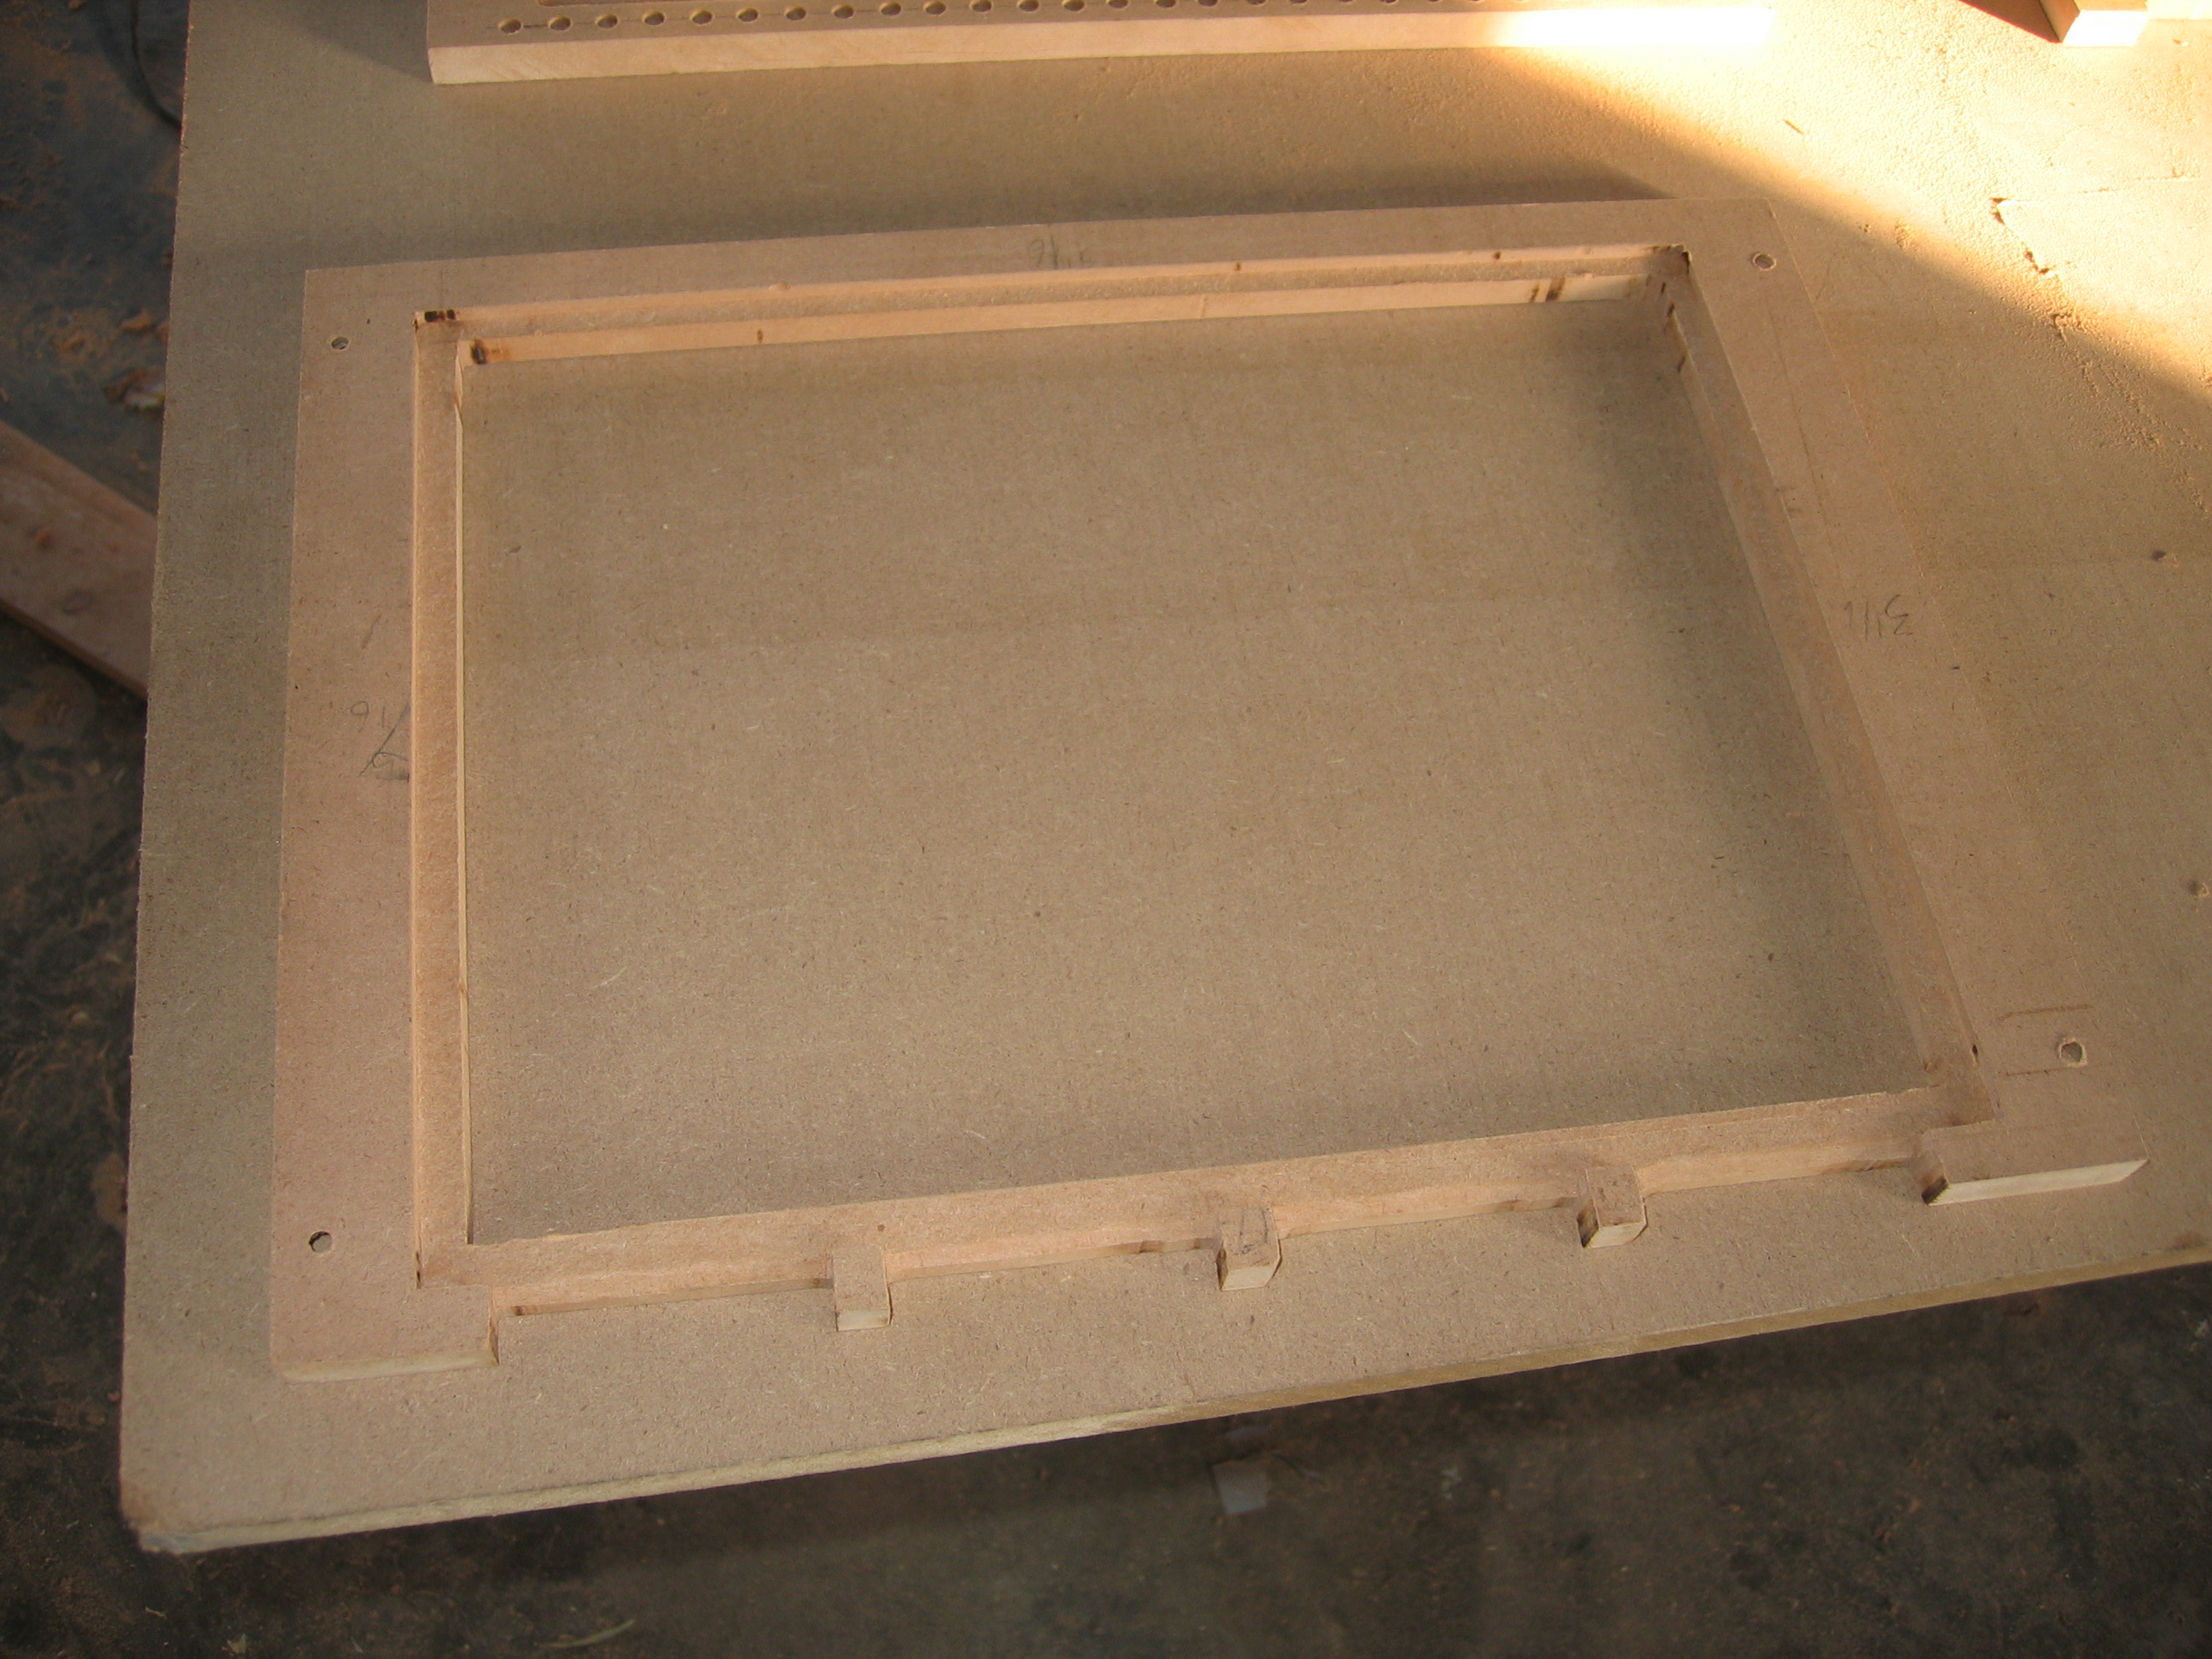
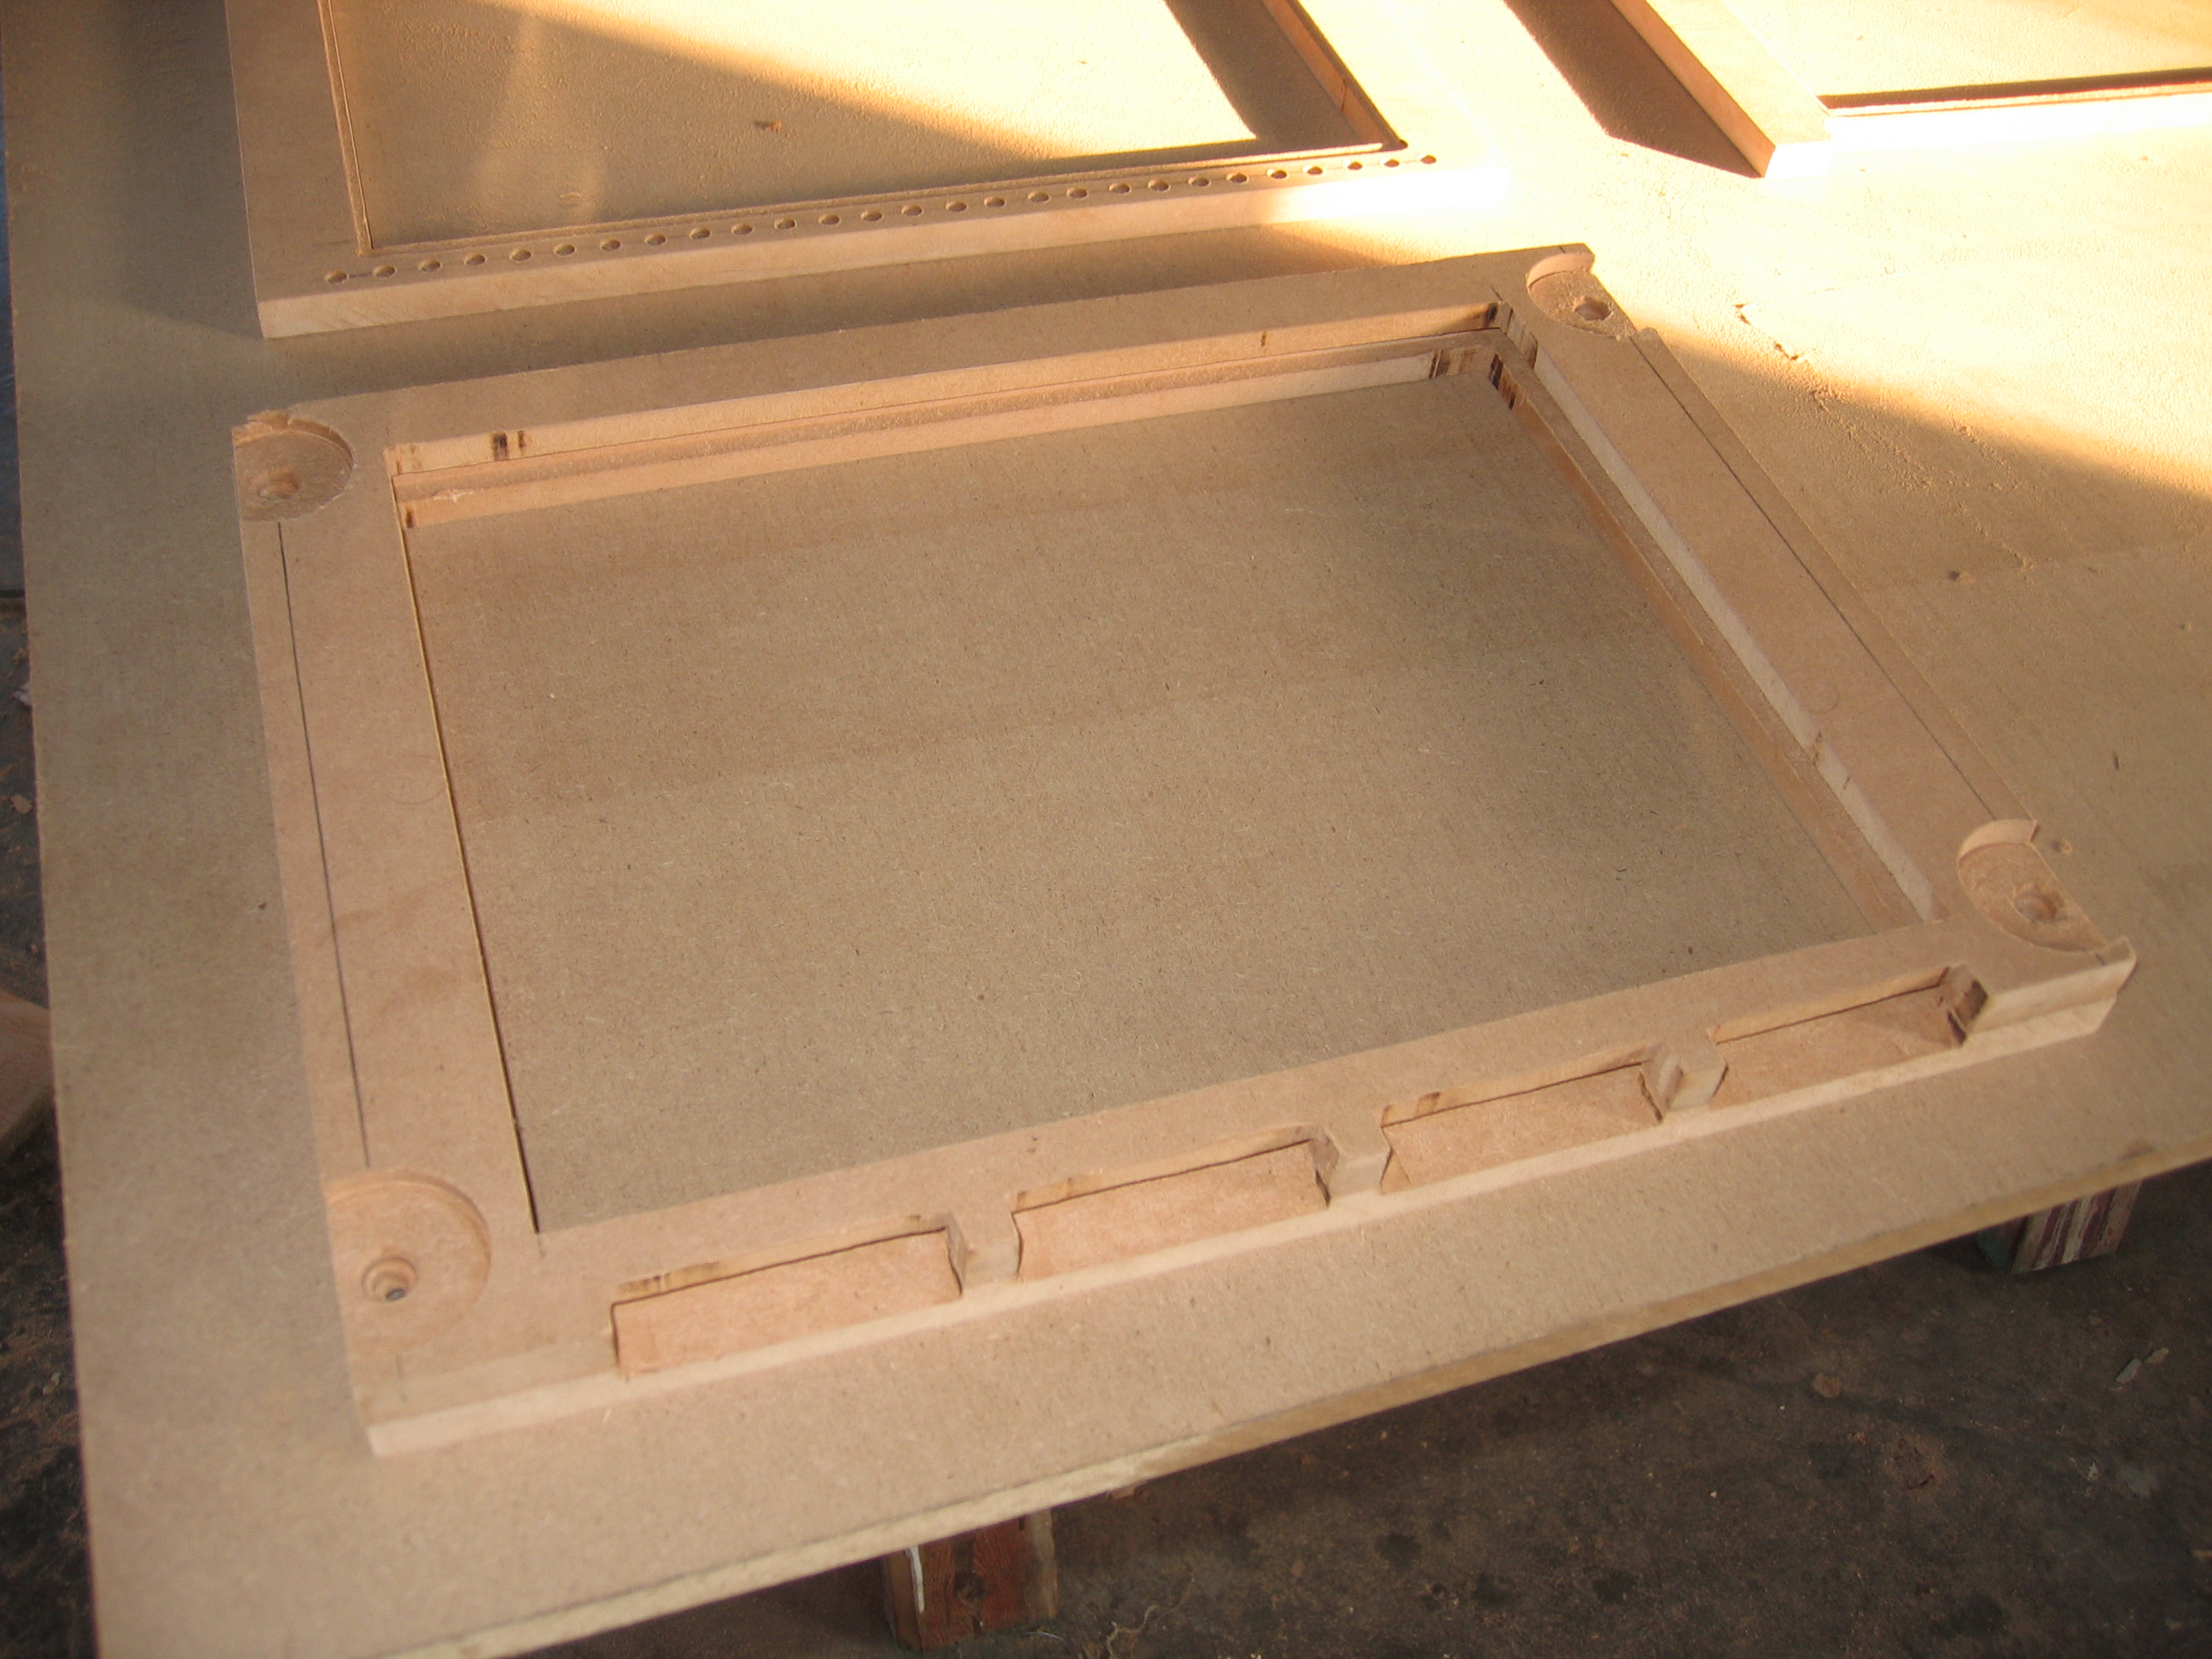
This scetch showes my plans for the lcd tray. it would be squashed between two 1/2 boards with foam lined edges. each edge had a different depth as the monitor had odd margins. the bottom was the most complex to allow for the ribbon cables to pass through.
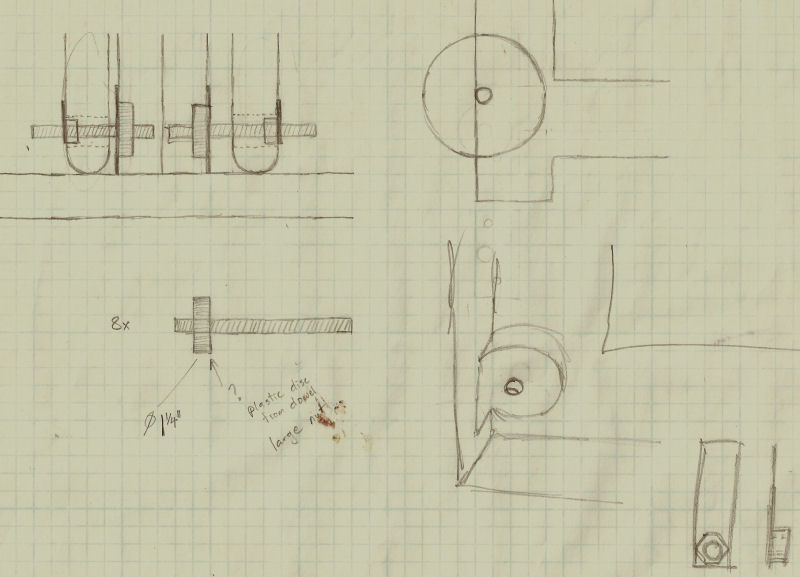
This scetch outlined my focusing mechanism. most people just use friction to hold the frames in place, some used railing. i figured i needed a system that was both adjustable and secured. finally, this is what i came up with. the lcd frame is fixed in place, and then you spin a threaded rod to move the frames back and forth. there is a picture of the final thing later that might explain better.
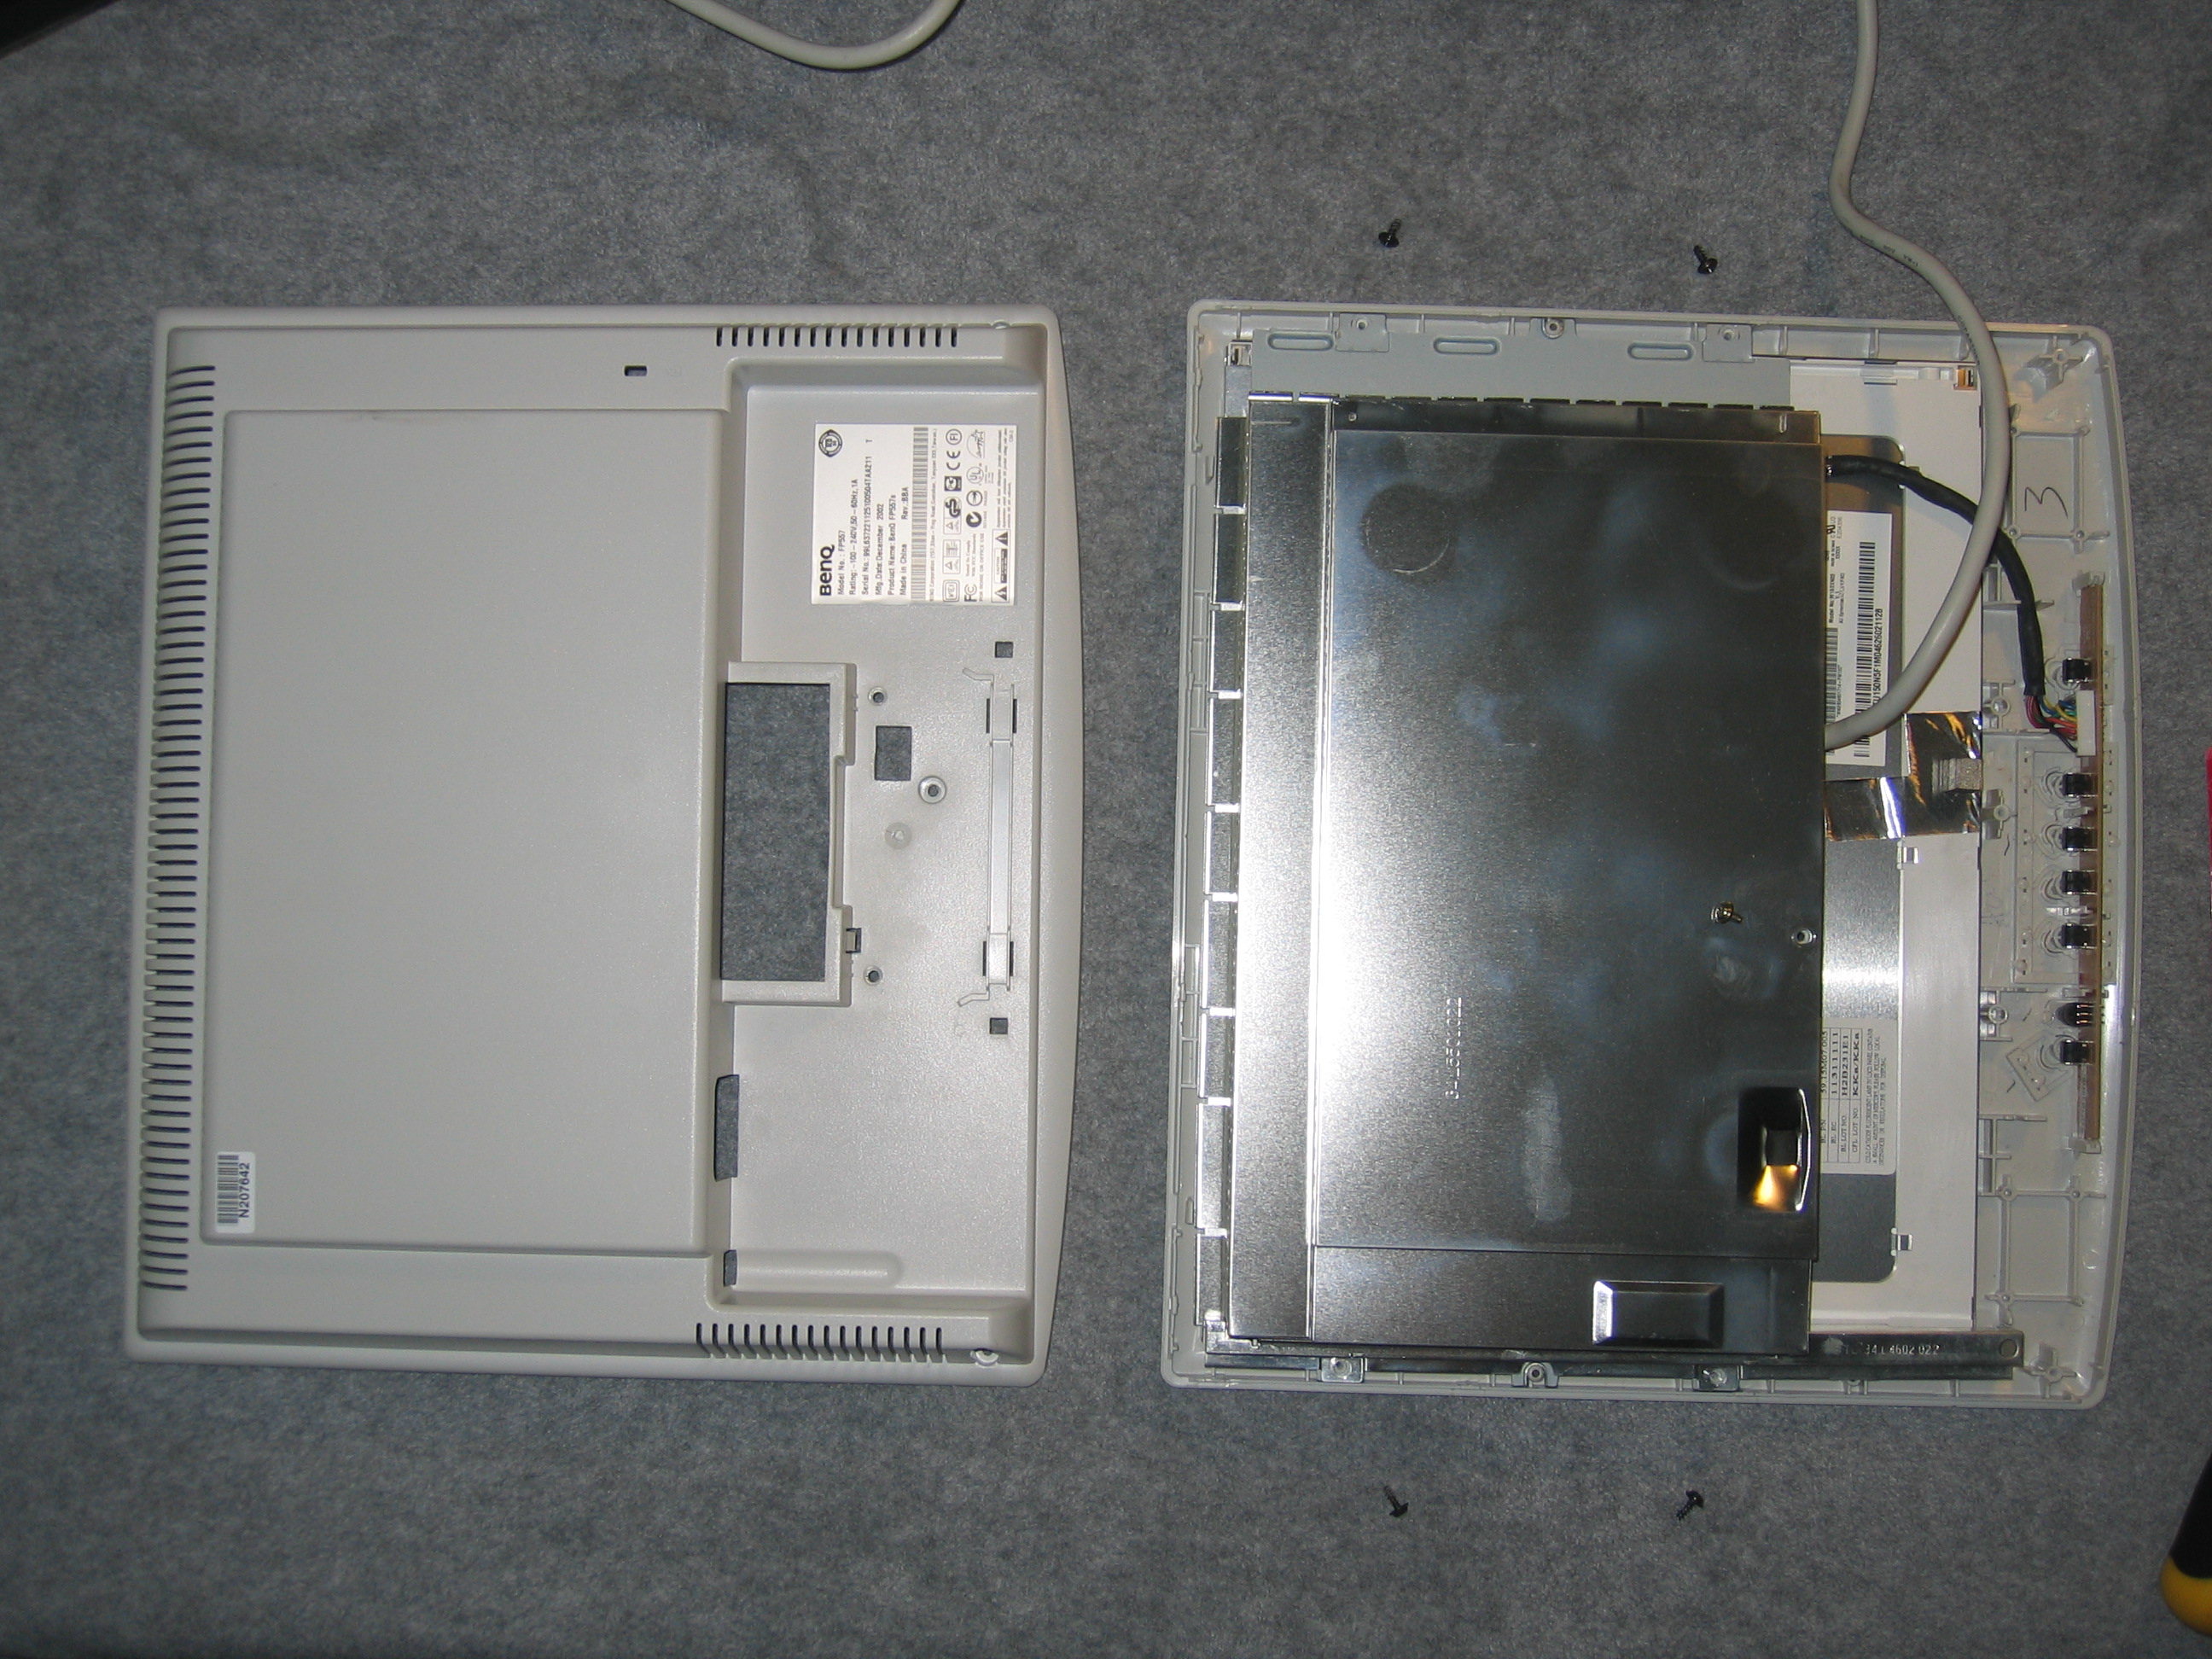
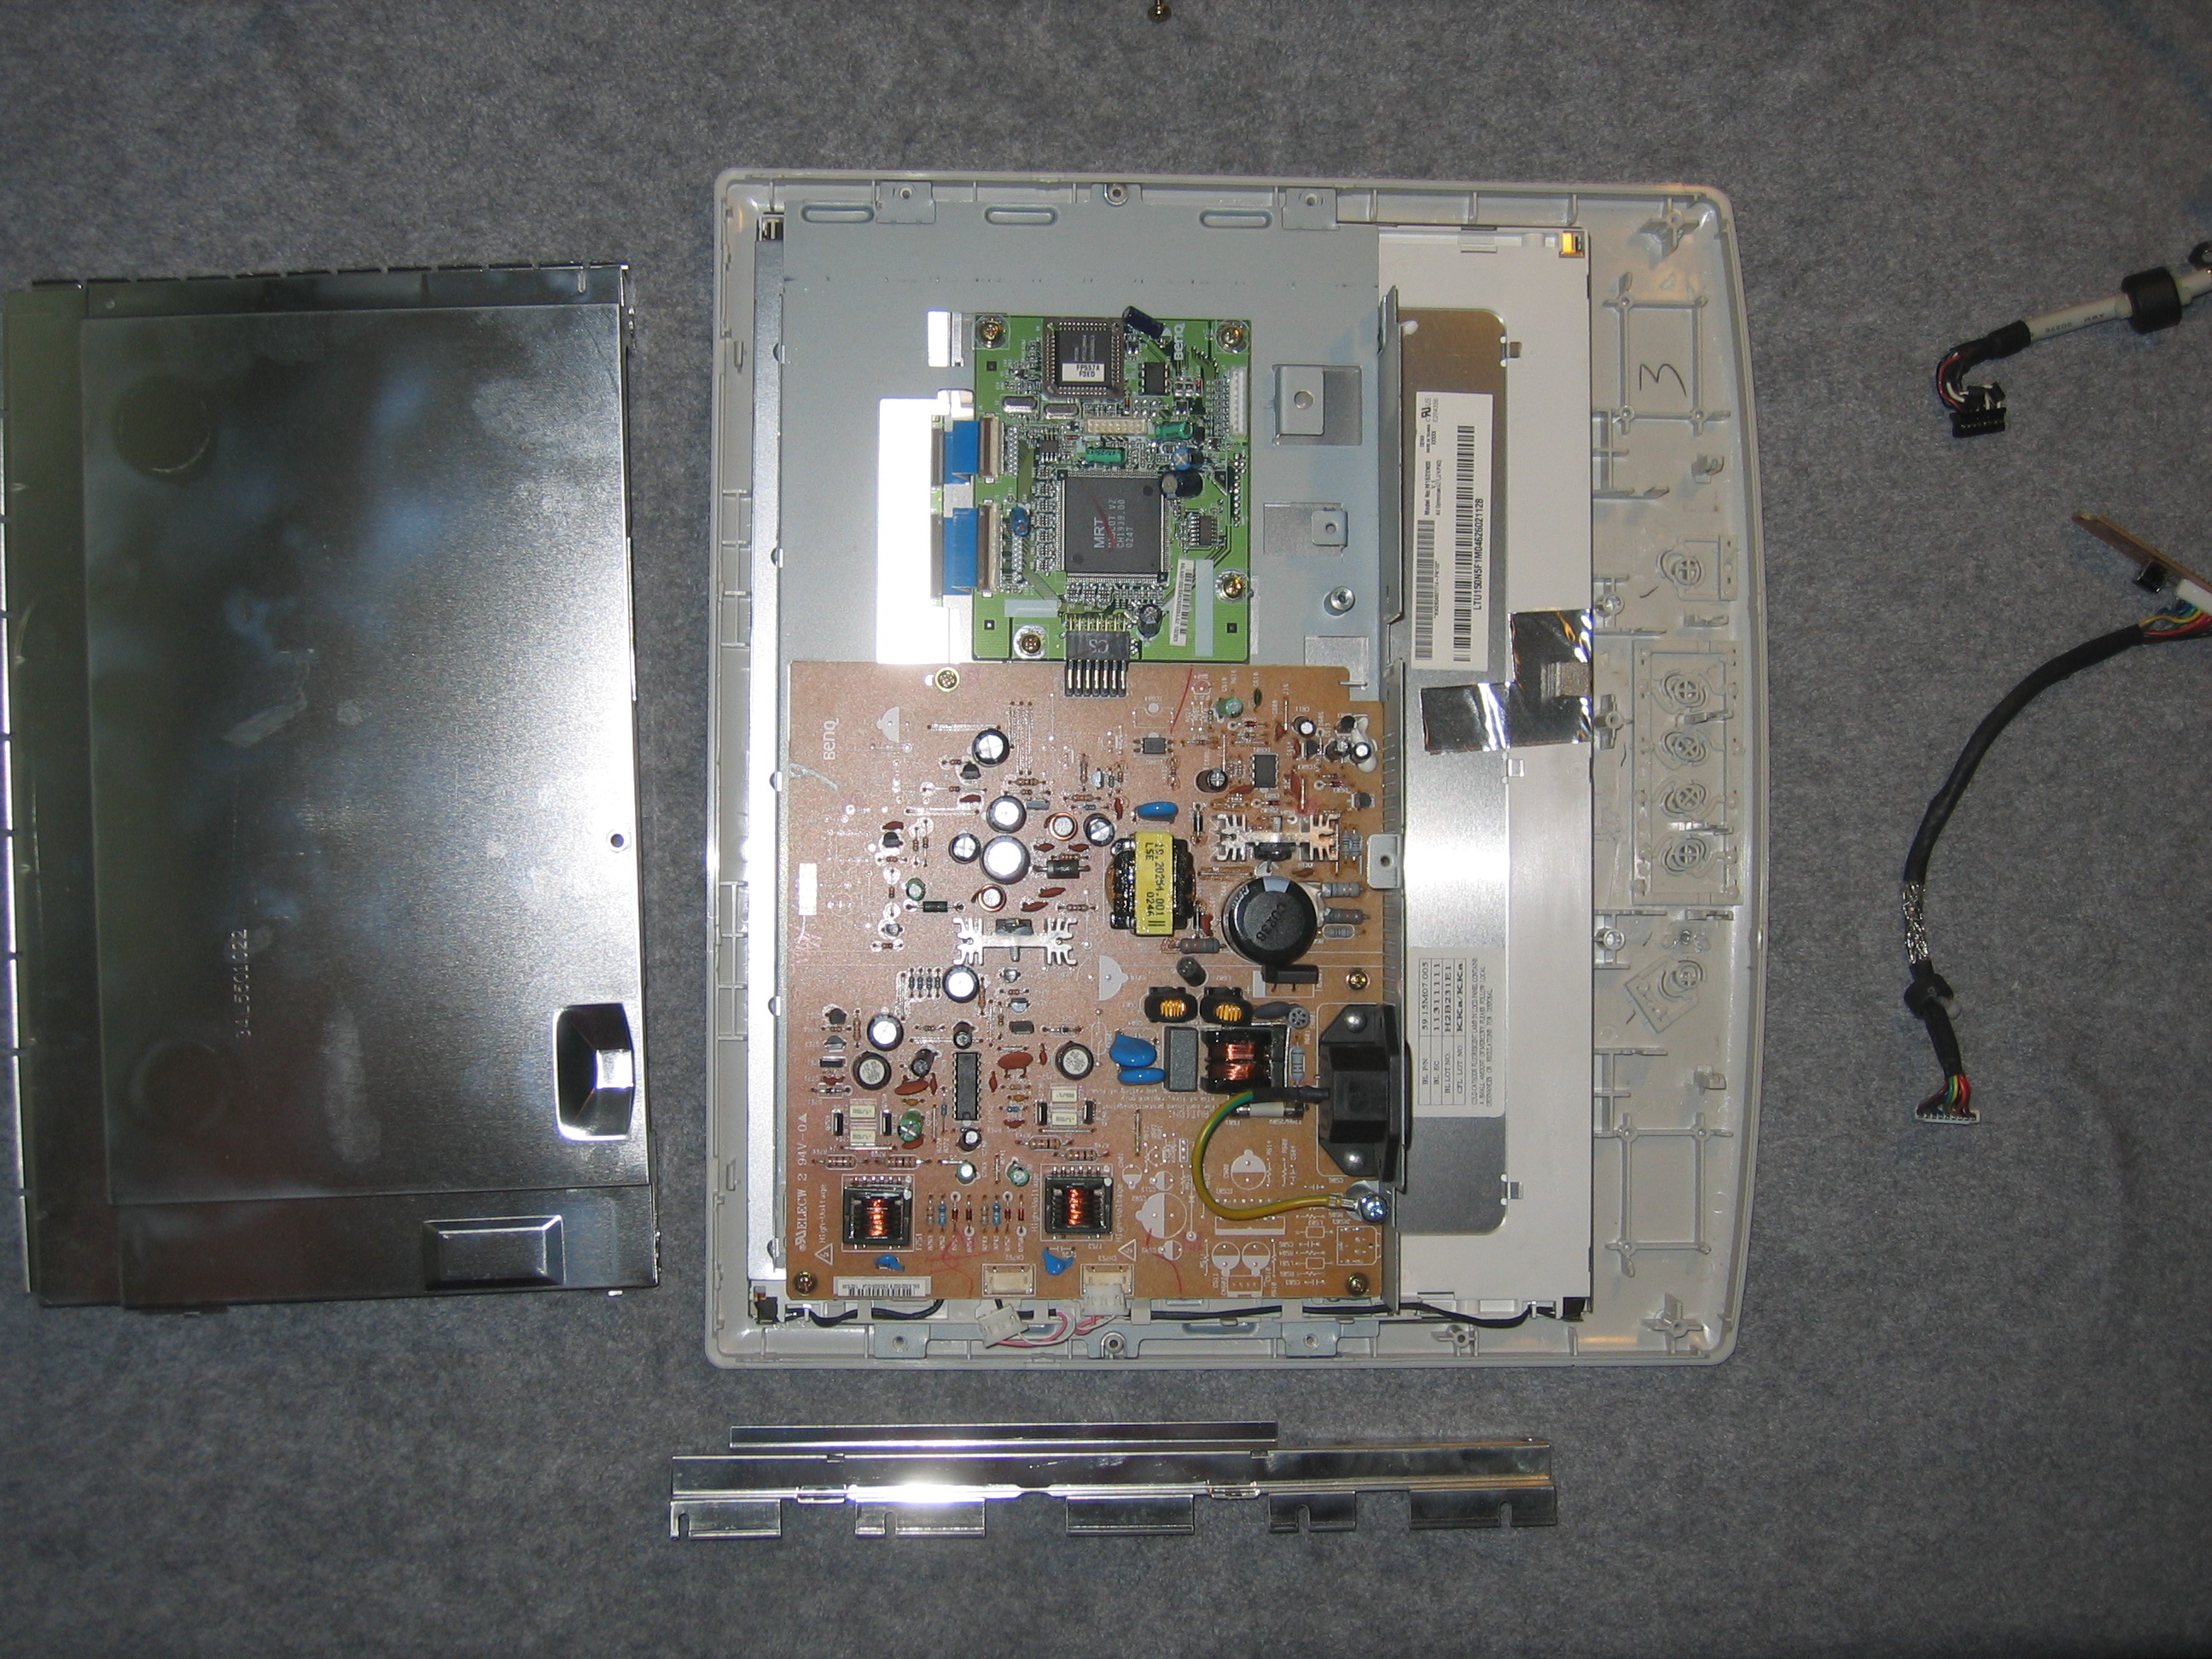
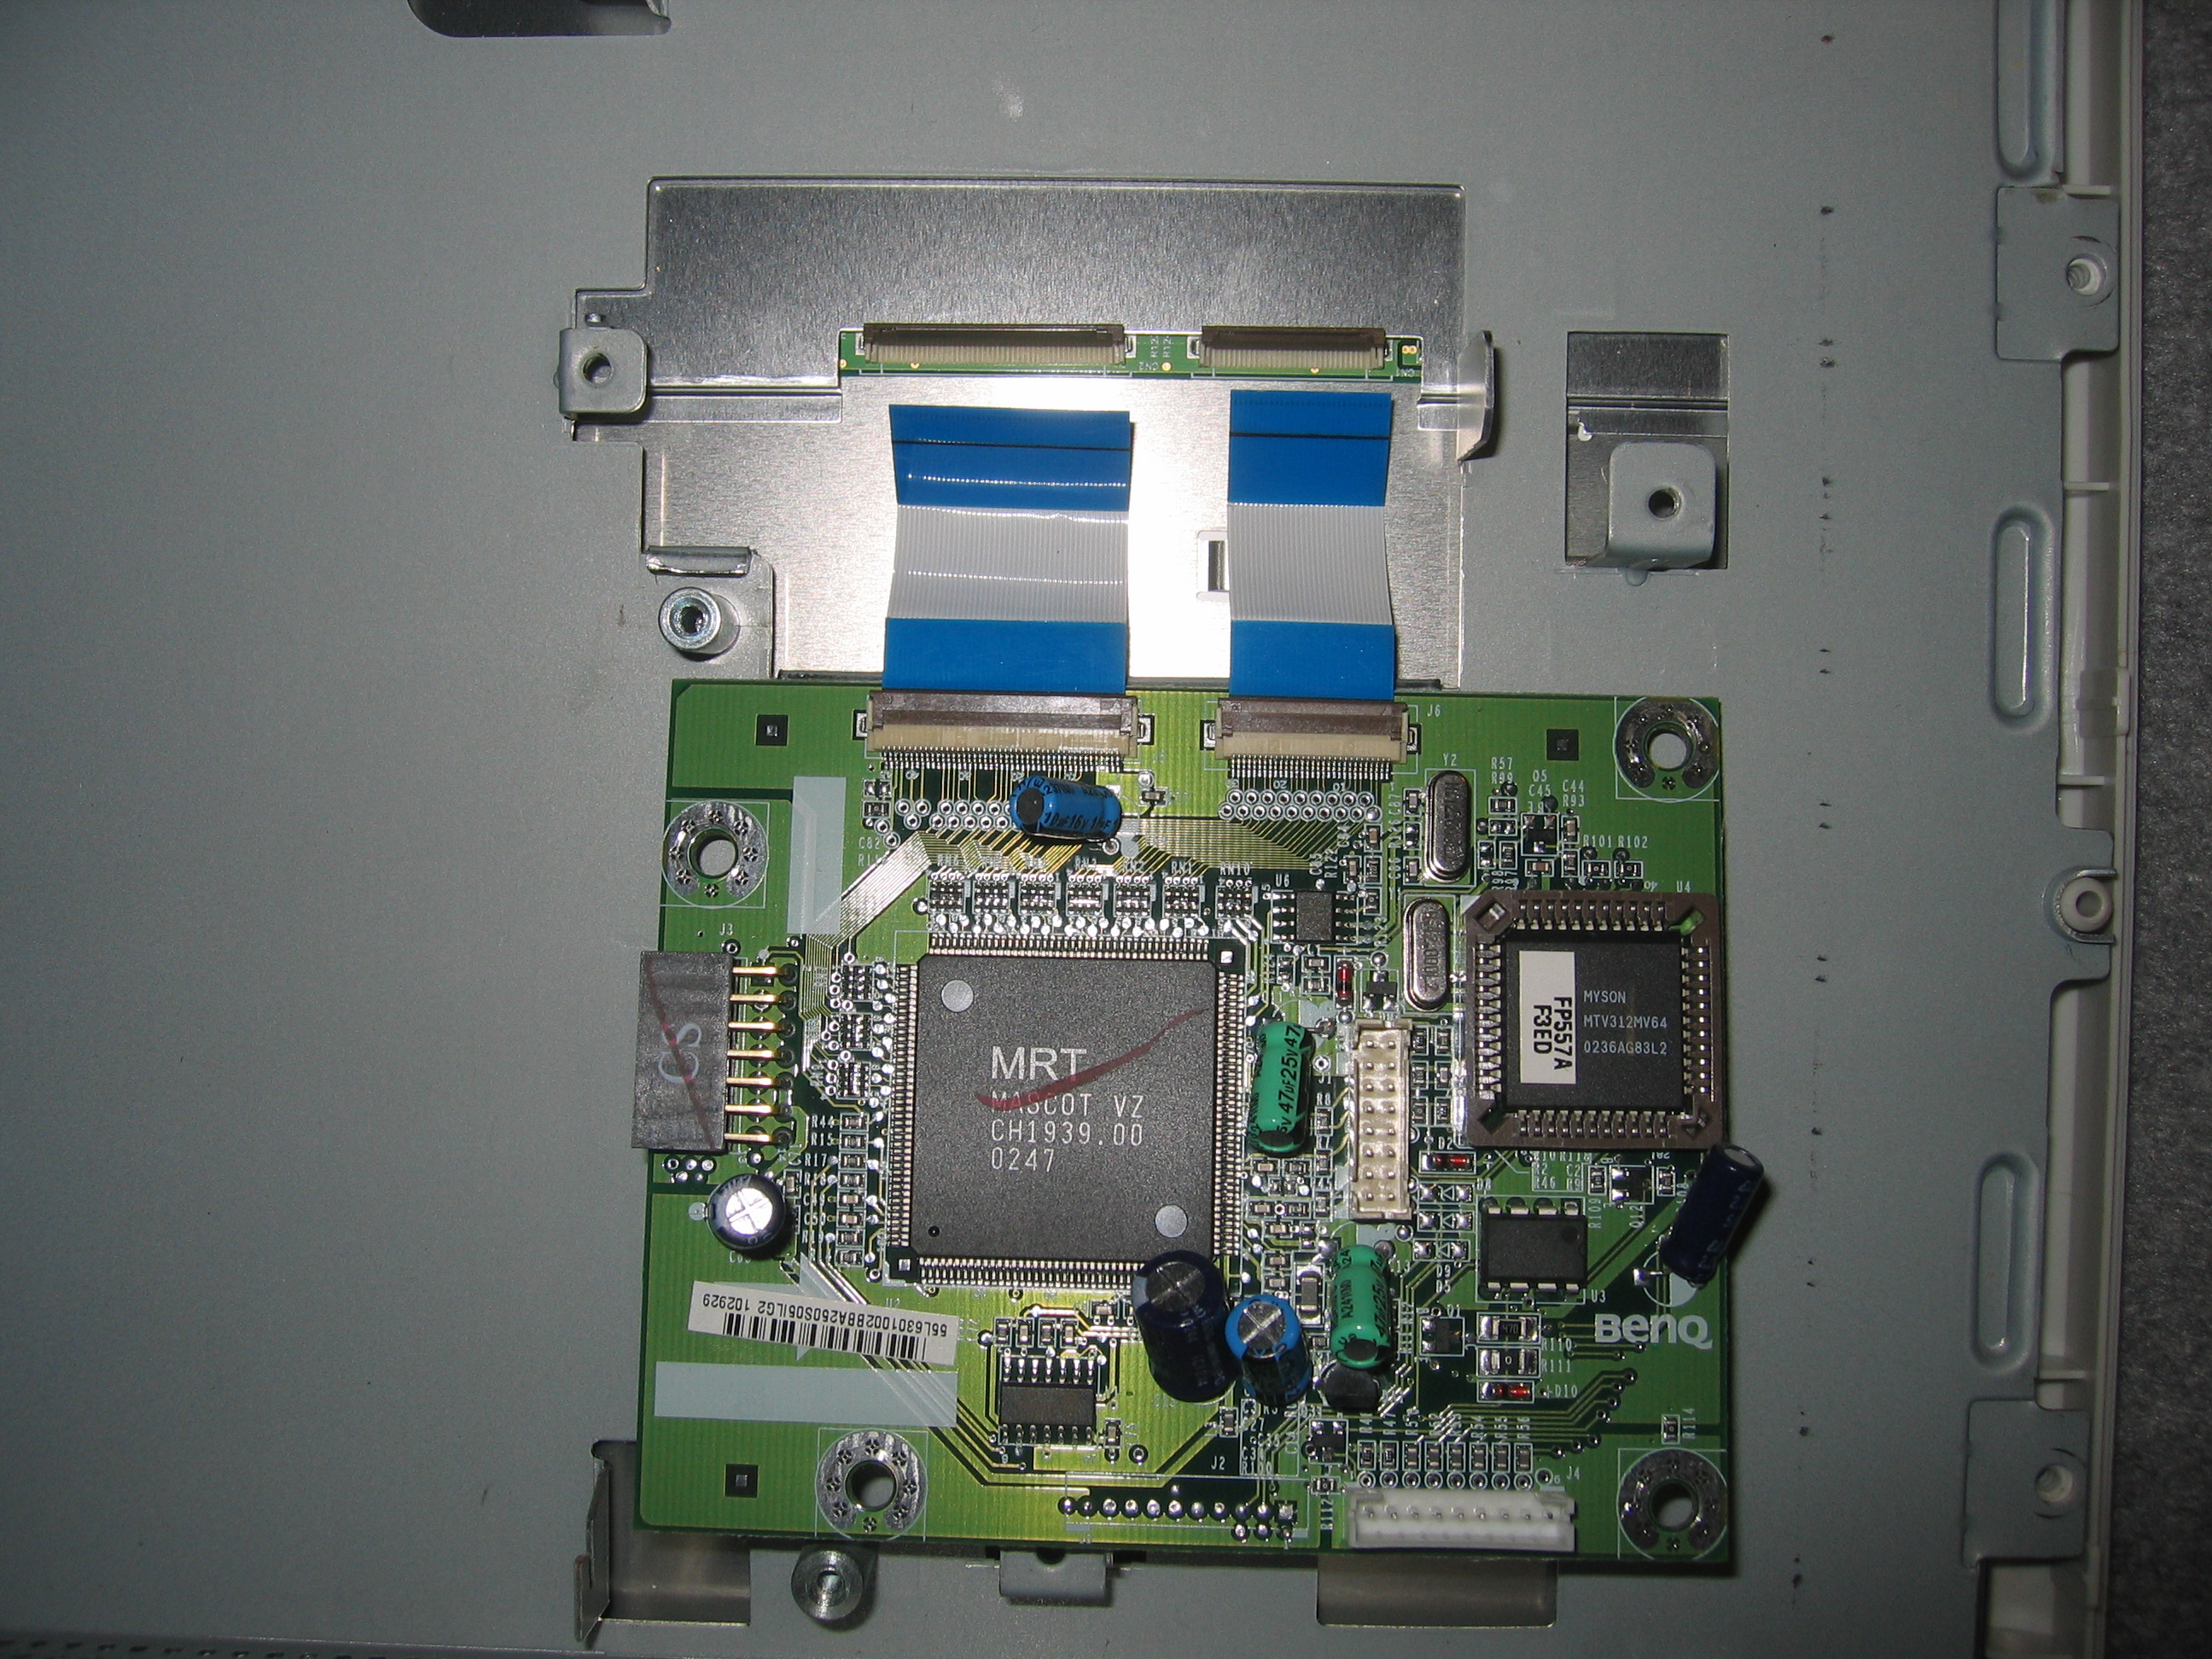
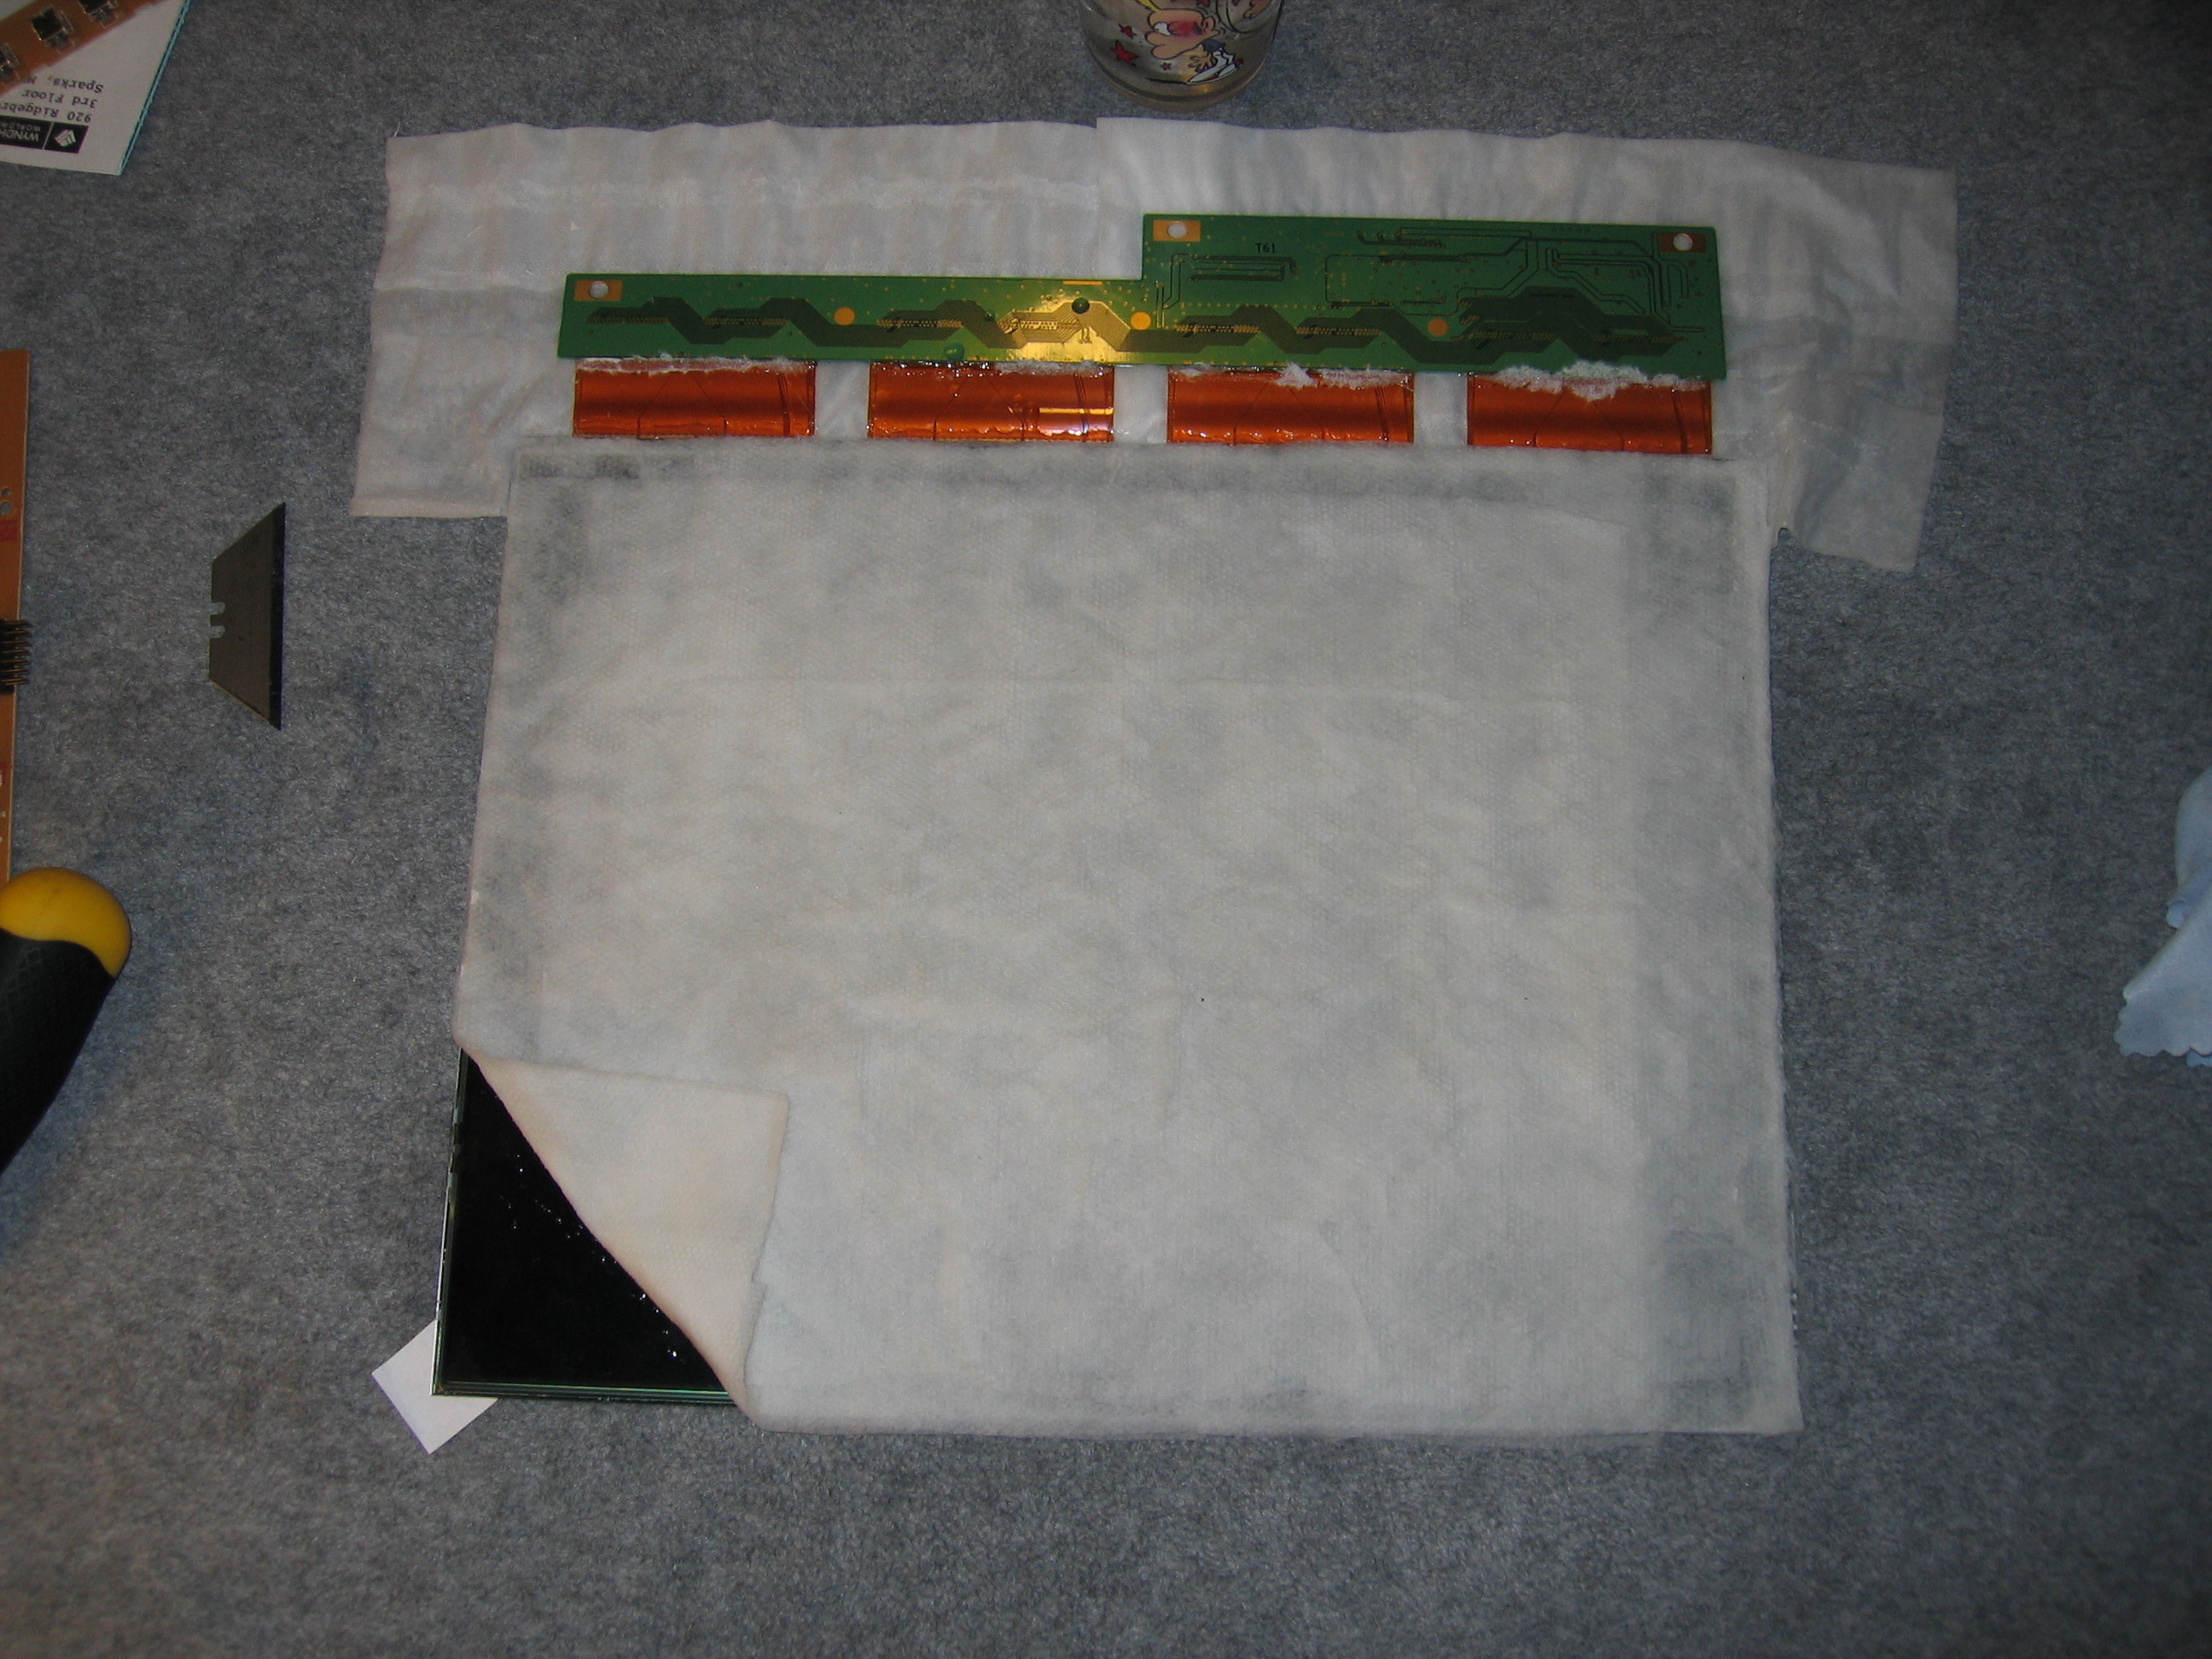
Tear down of LCD and anti-glare removal
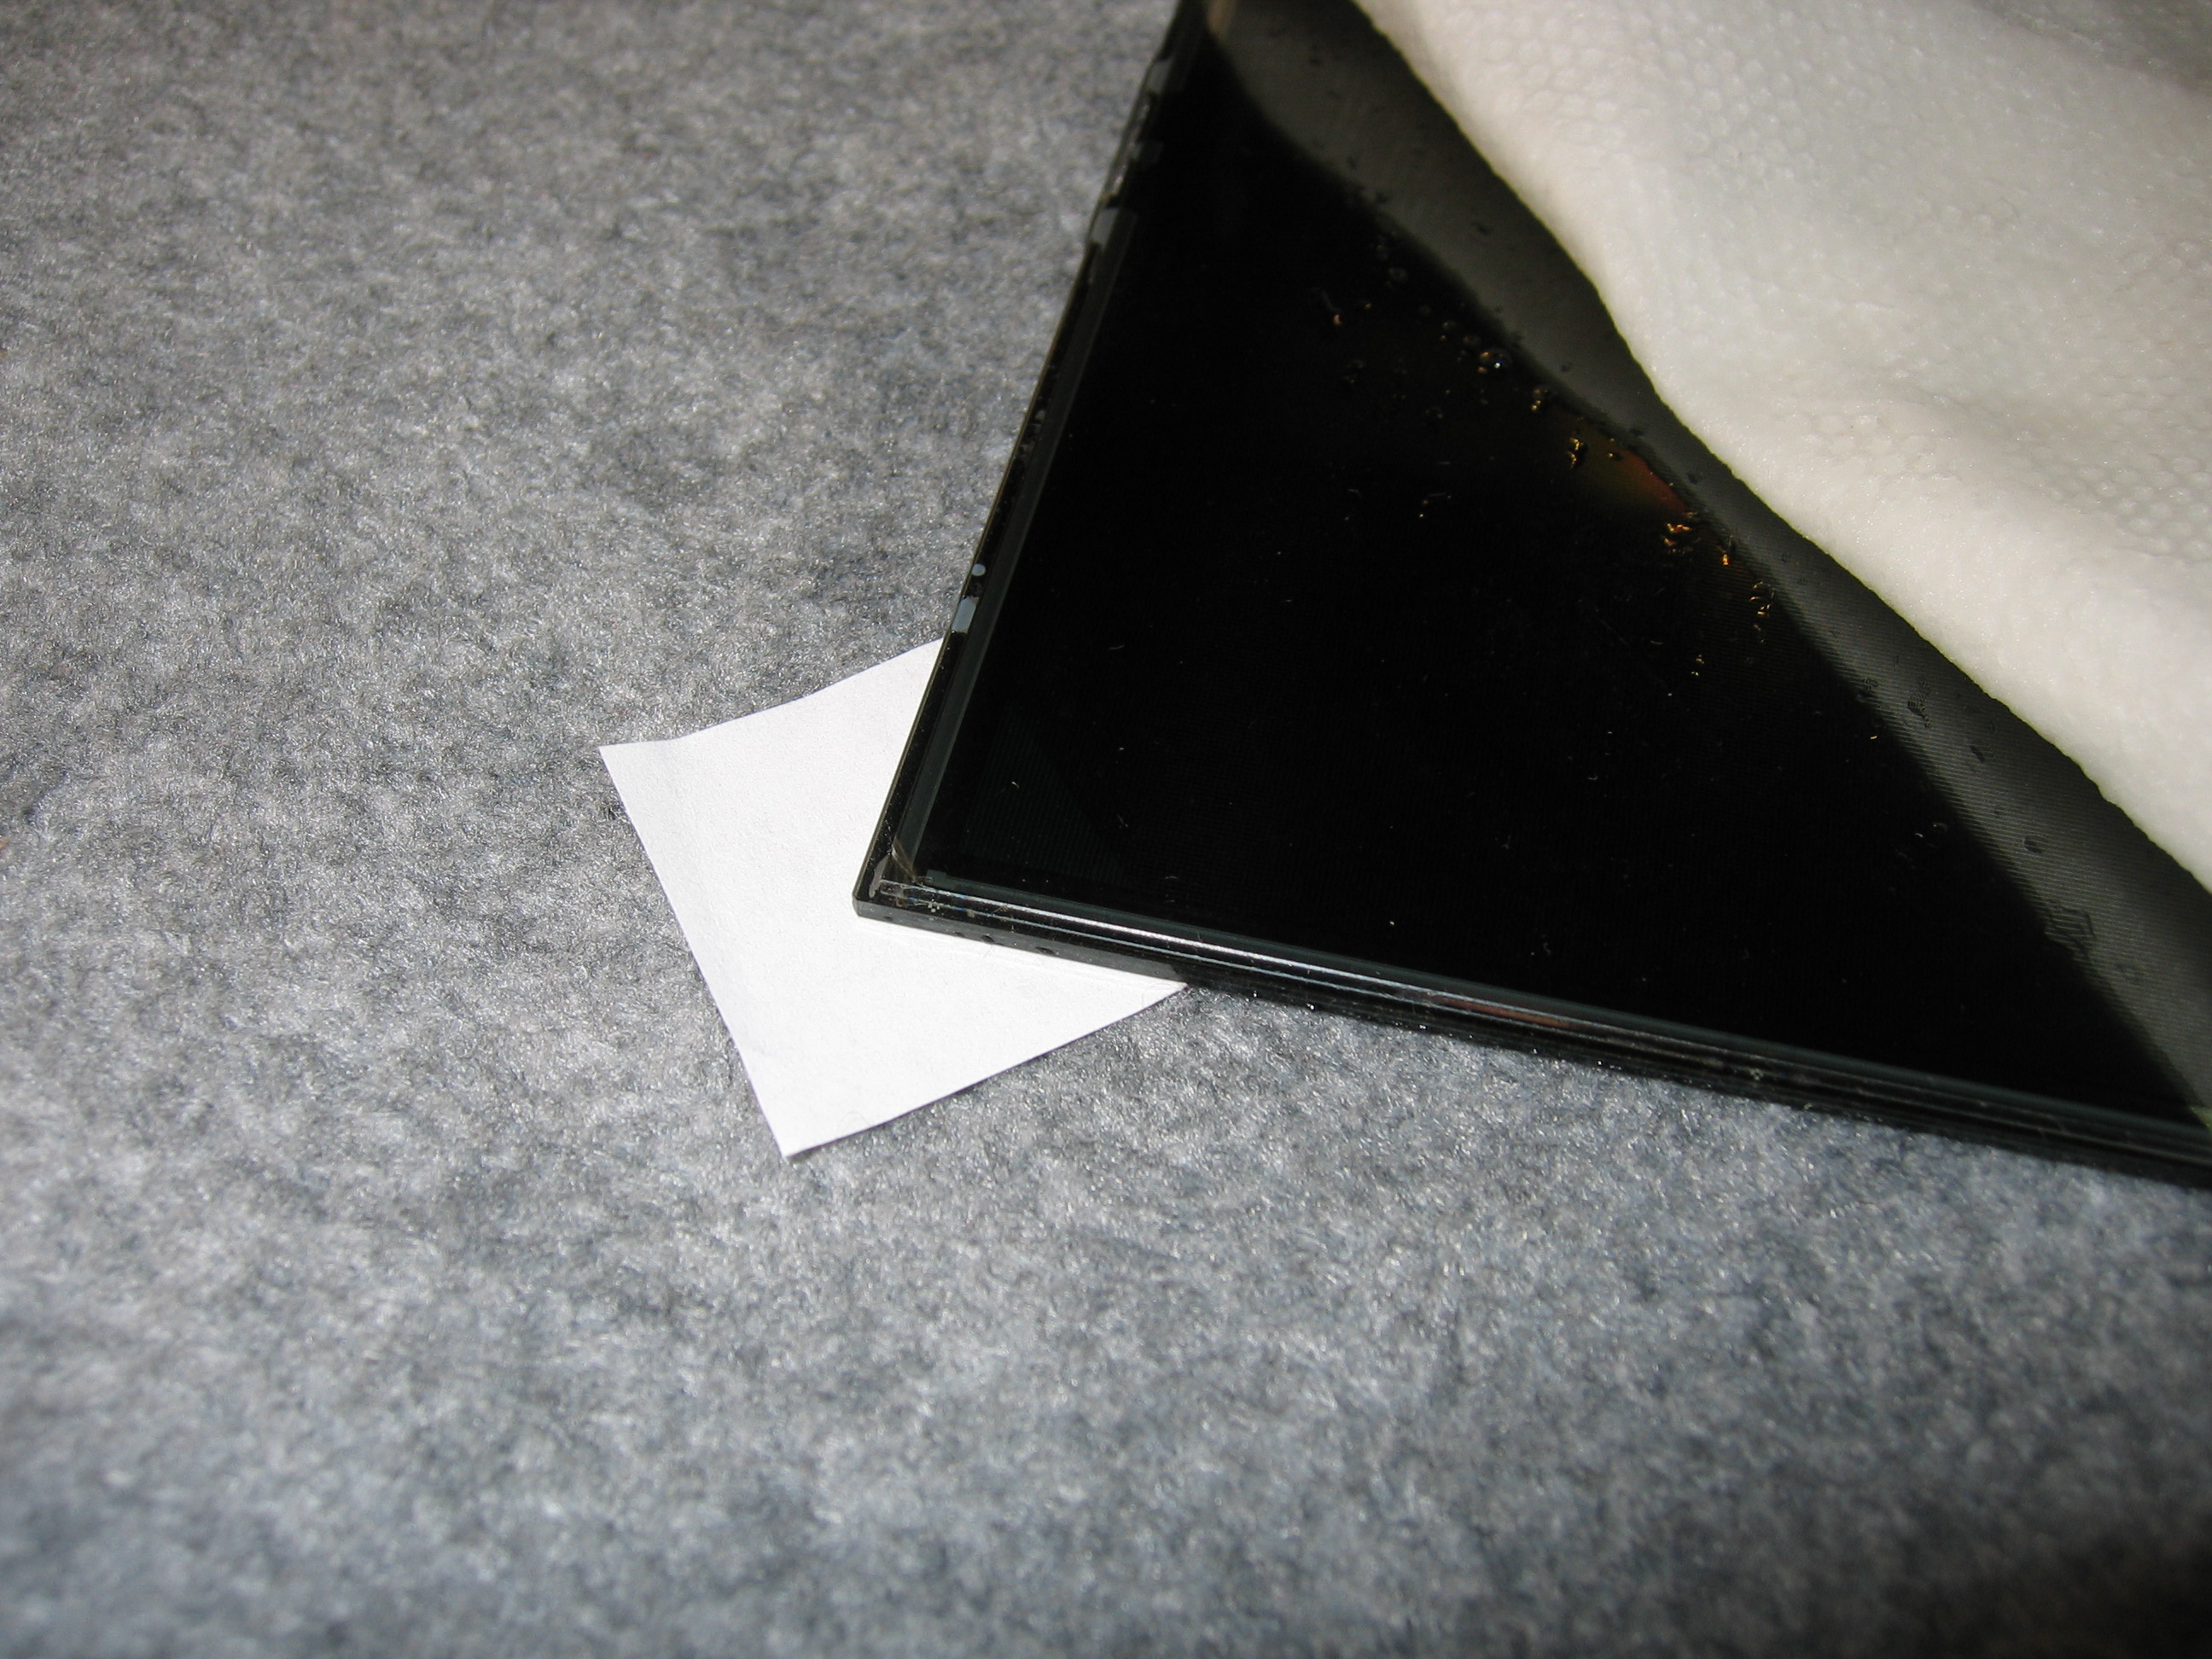
The monitor i used was a BenQ FP557s i got off ebay for $80. 1024x768 resolution and 400:1 contrast ratio. Came in excelent condition with no scratches or dead pixels. i was very happy.
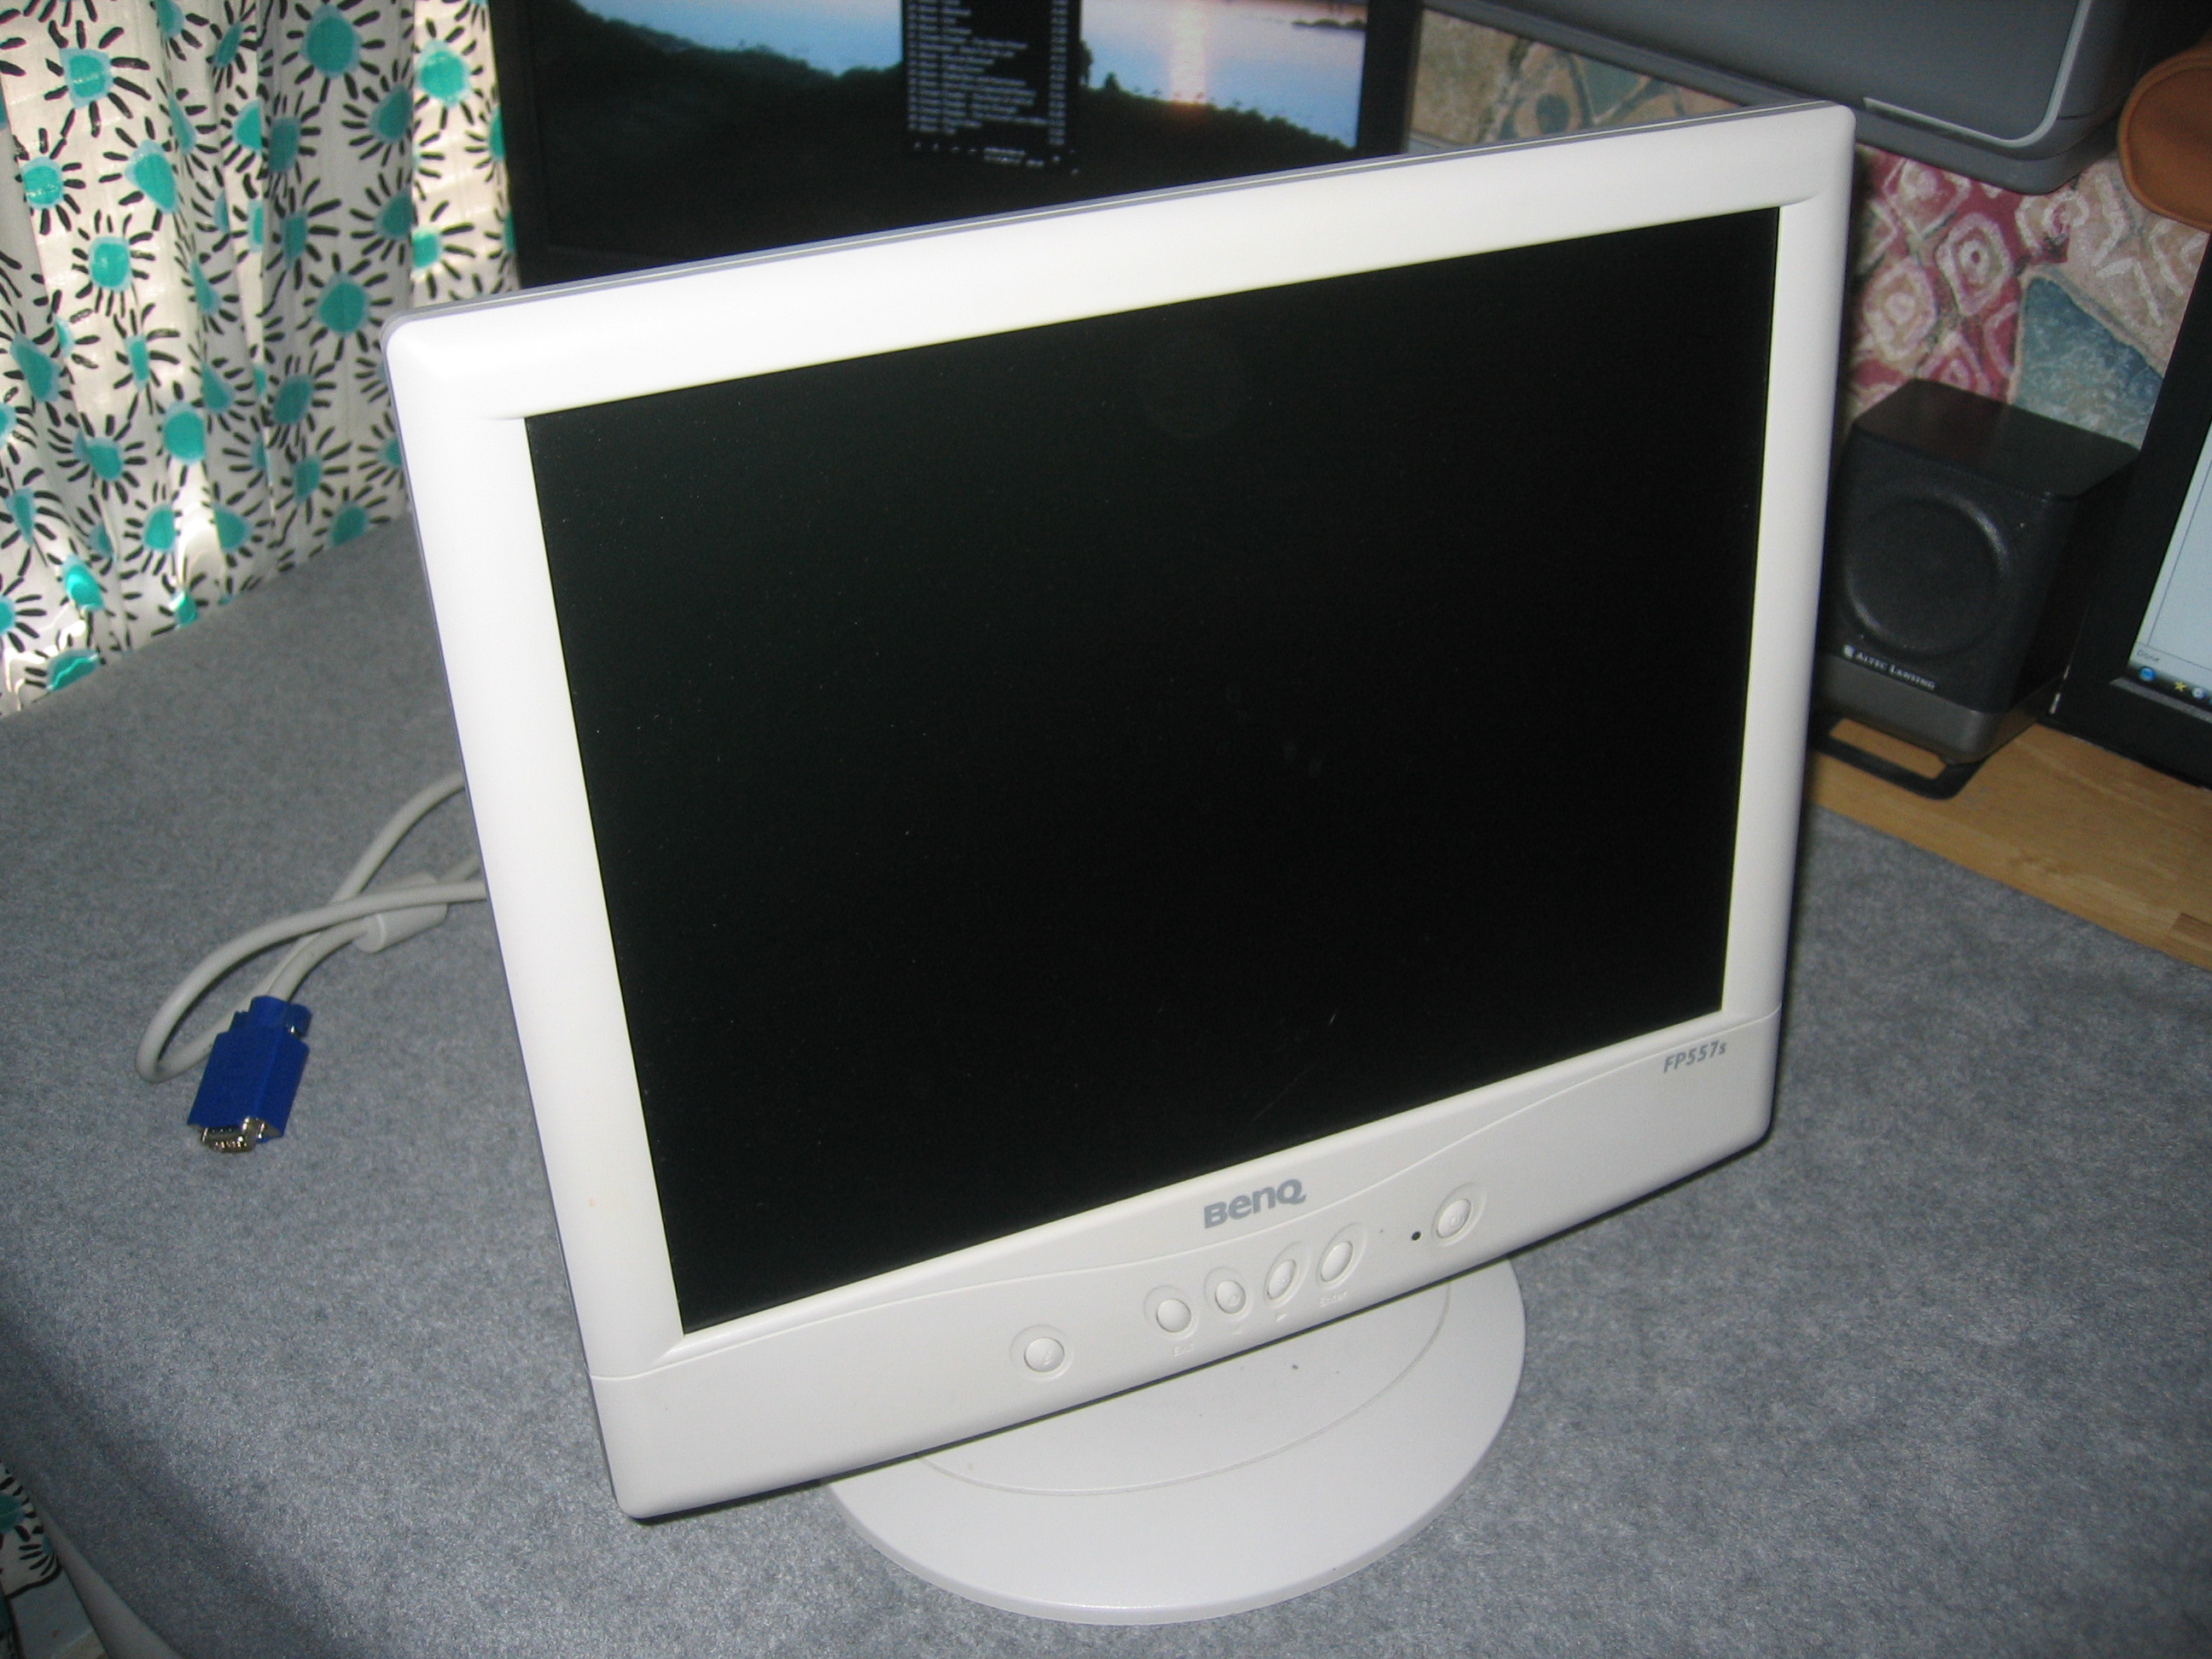

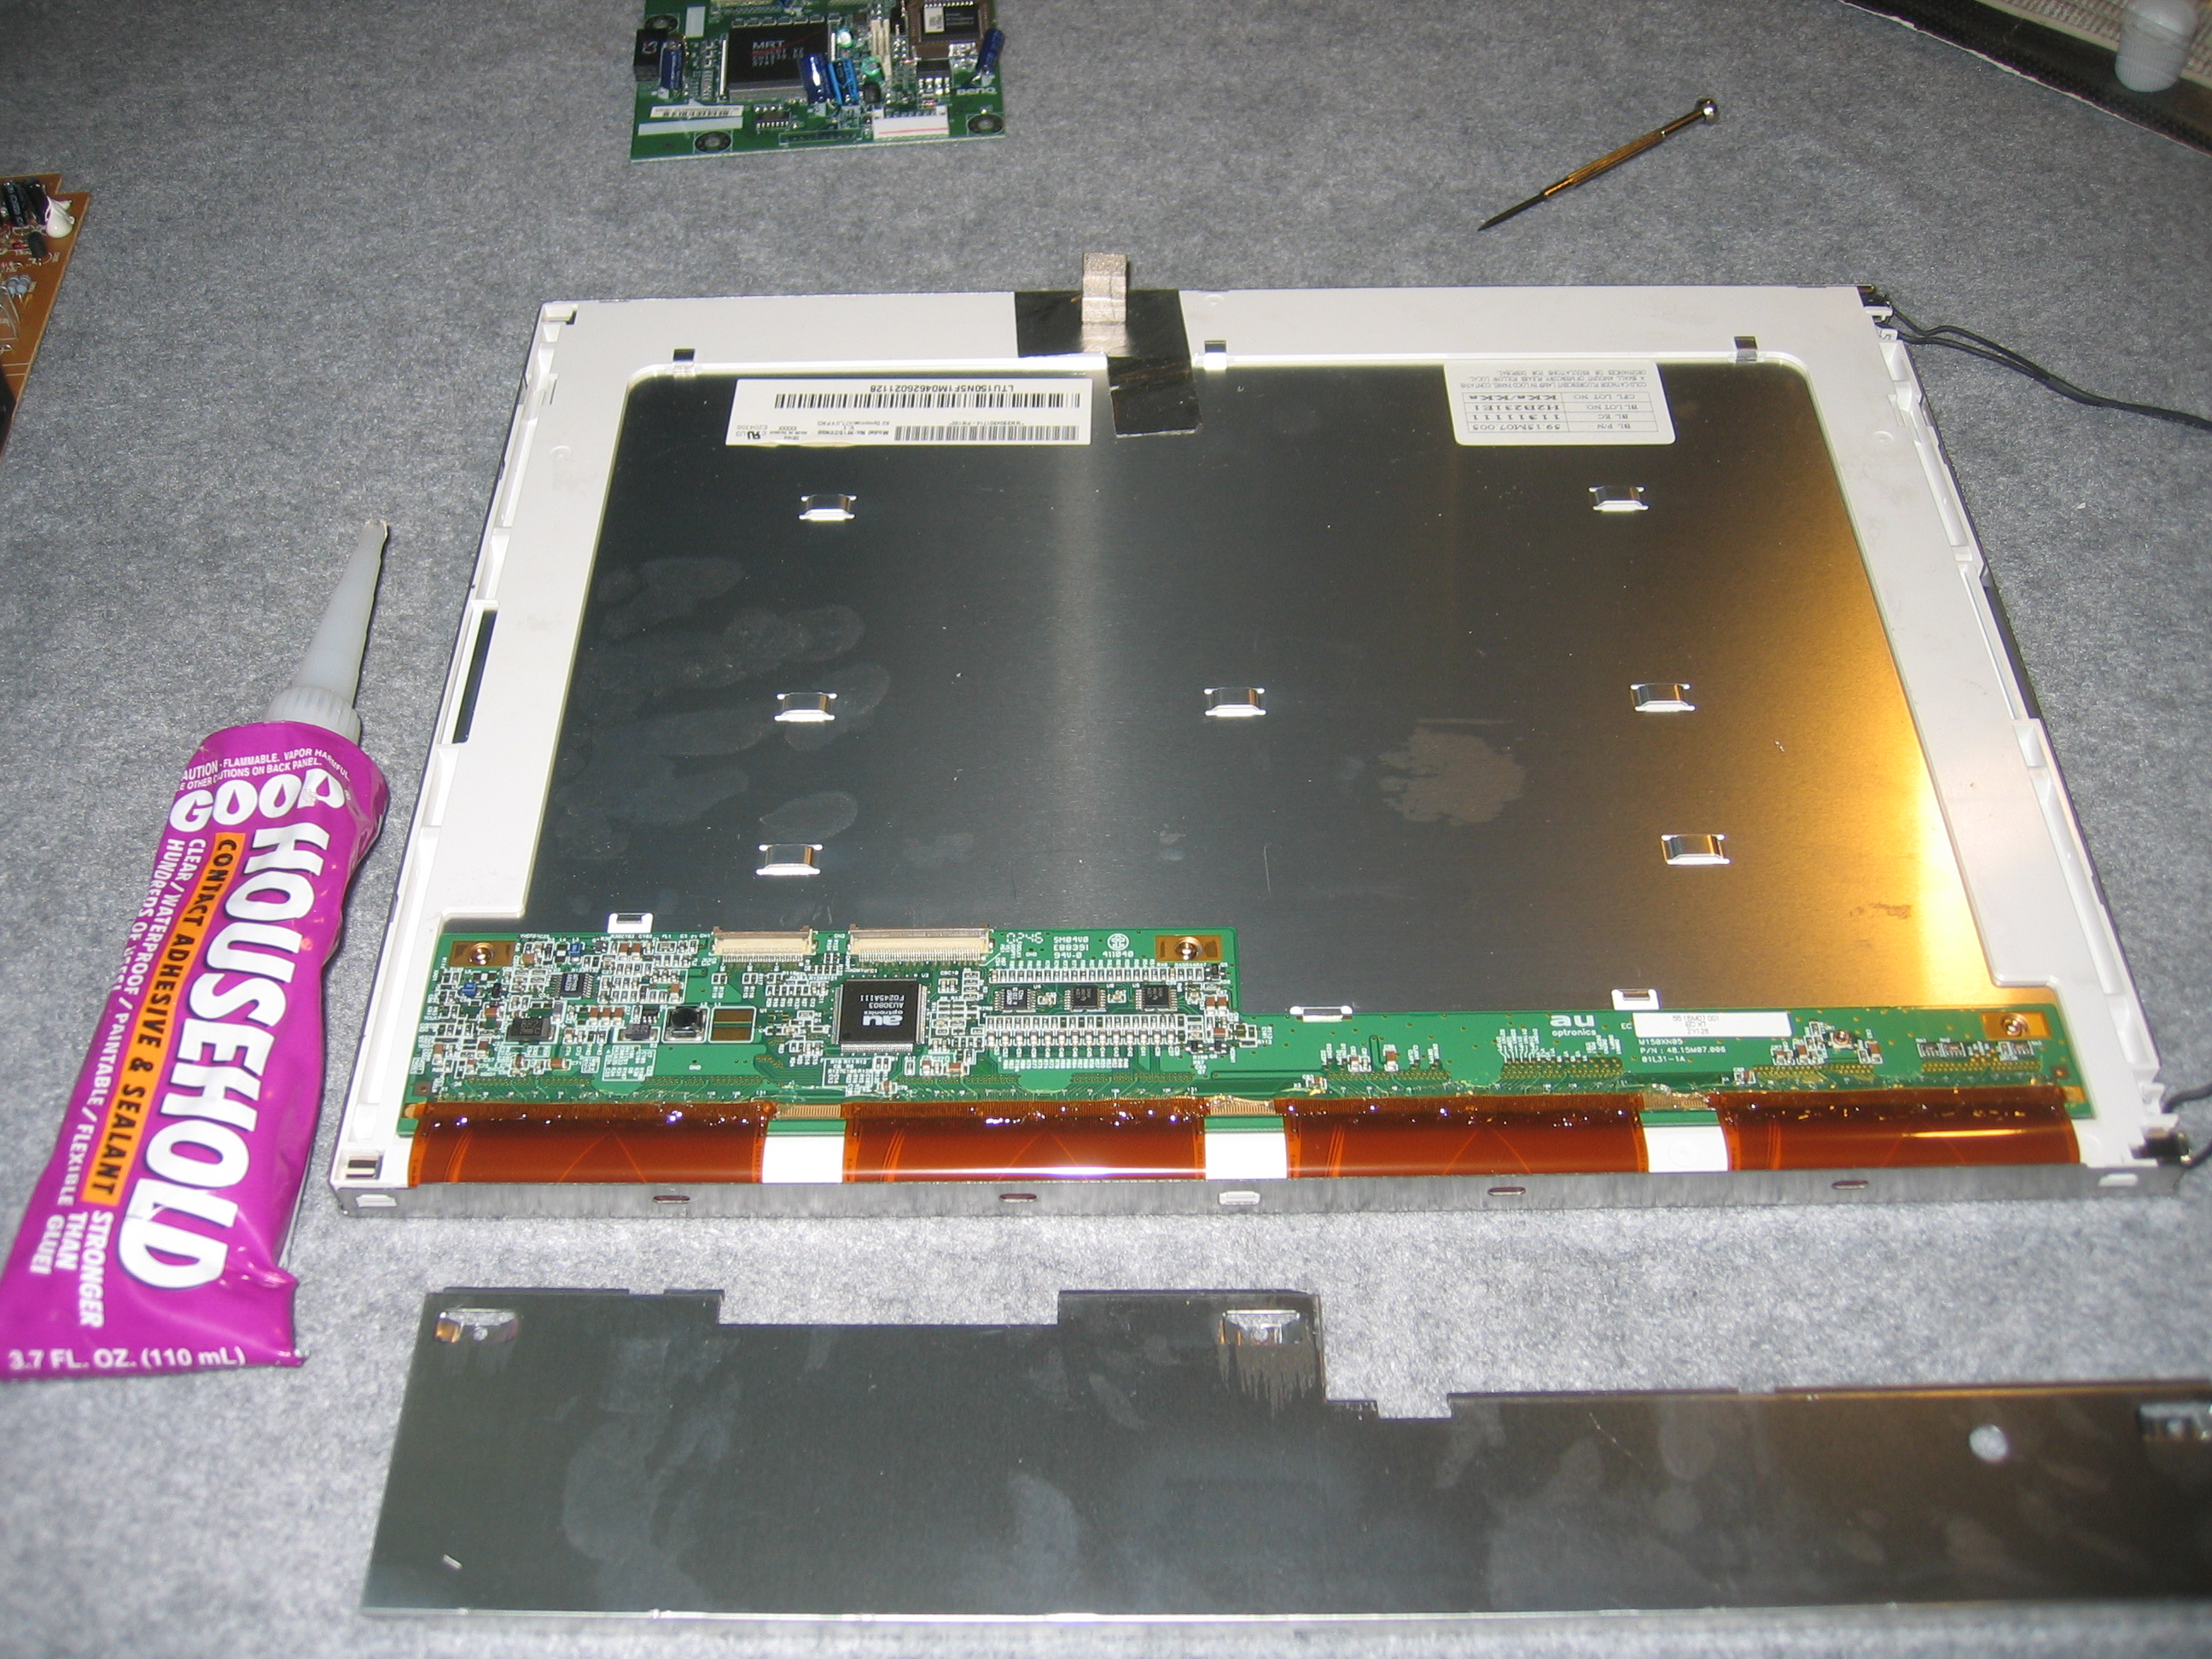
There was an anti-glare layer on the monitor that isnt needed and causes a slight loss of brightness. by mostening that layer I was able to peel it off.
Woodworking
Here are the focusing dials
Finished and In Action!
